
The Espresso Machine Restoration site
A non-commercial site for those interested in espresso equipment repair and restoration.
By this stage of a restoration the excitement starts to build up and the emotions can take over. It is really important
that you again take your time and do things slowly and properly. For example you may damage a component or a
gasket if you rush to get the job finished. Sometimes if I have a tricky section (that part is coming up) I take a break
for a few mins to gather my thoughts and calm down. The point is if you are restoring an old machine then parts are
hard to come by and if you want to retain the original fittings and components then you have to take extra care not
to damage parts.
Sometimes parts are unavailable. Around 1997 Marzocco changed the way in which the group was attached to the
boiler, this meant that they used a different gasket. No gaskets are available so it was necessary to fabricate one
myself. I had some 2mm gasket sheets available and then it was just a case of cutting it to shape and cutting 8
round holes. This is a real pain in the rear.

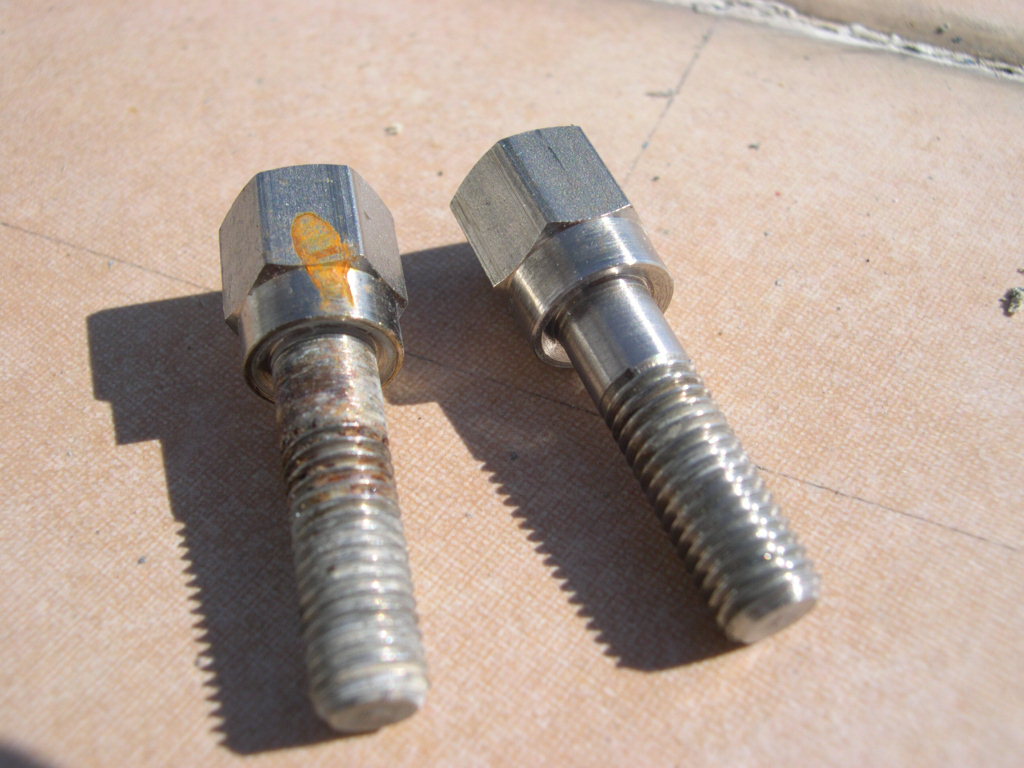
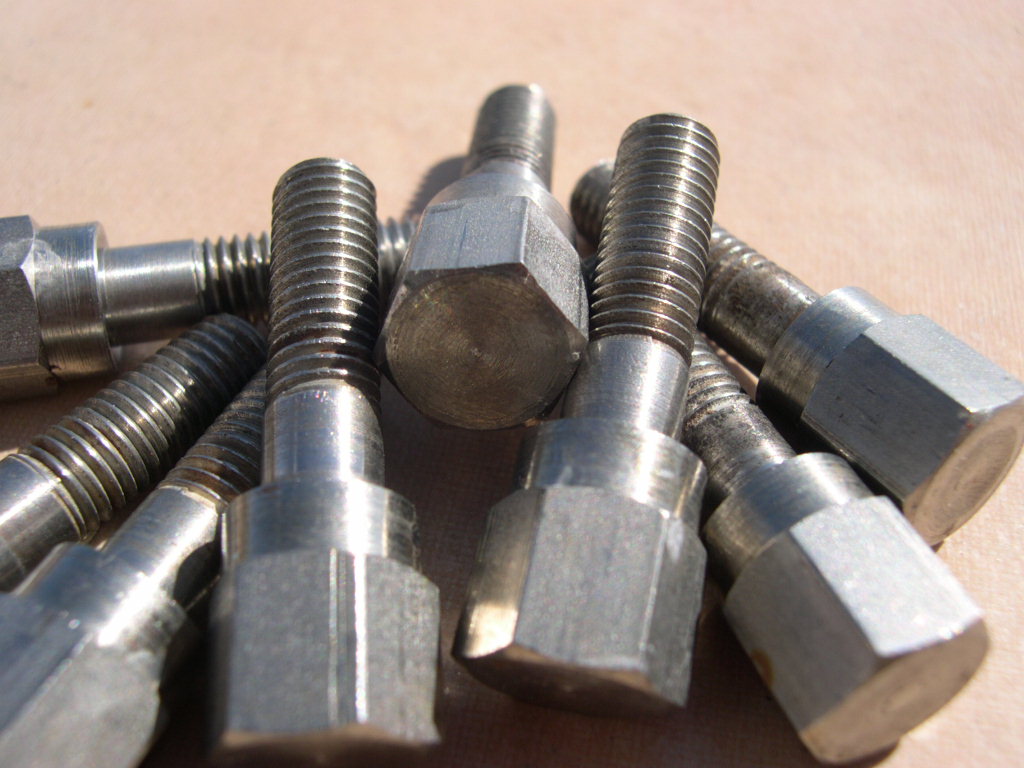


the 8 holes and getting all the bolts to thread into the nuts inside the boiler (which by this stage you cannot see) is
extremely hard. The added annoyance factor is that in Marzocco folklore the last bolt is the trickiest and you know
that if that one does not go in then you have to undo all the bolts and start again. What is also tricky is that you
cannot force the bolts either because you then run the risk of cross-threading and ruining the square nut. In actual
fact when trying to get the bolts into the thread you cannot apply any pressure at all.
Fortunately all the bolts went in and personally I have not had that hard a time with these things as others have
done. Once you get all the bolts to thread then and only then can you start to tighten them. And like all flange
arrangements you have to tighten the bolts a little at a time in series otherwise you may cause the boiler, group or
bolts to bend out of shape!
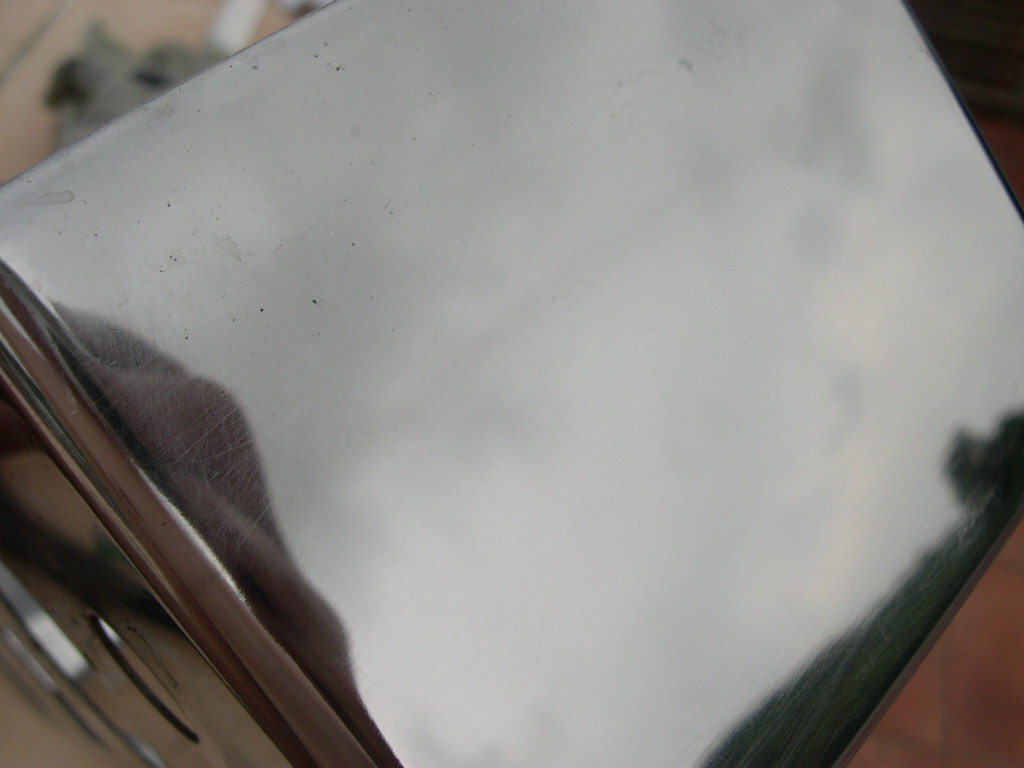
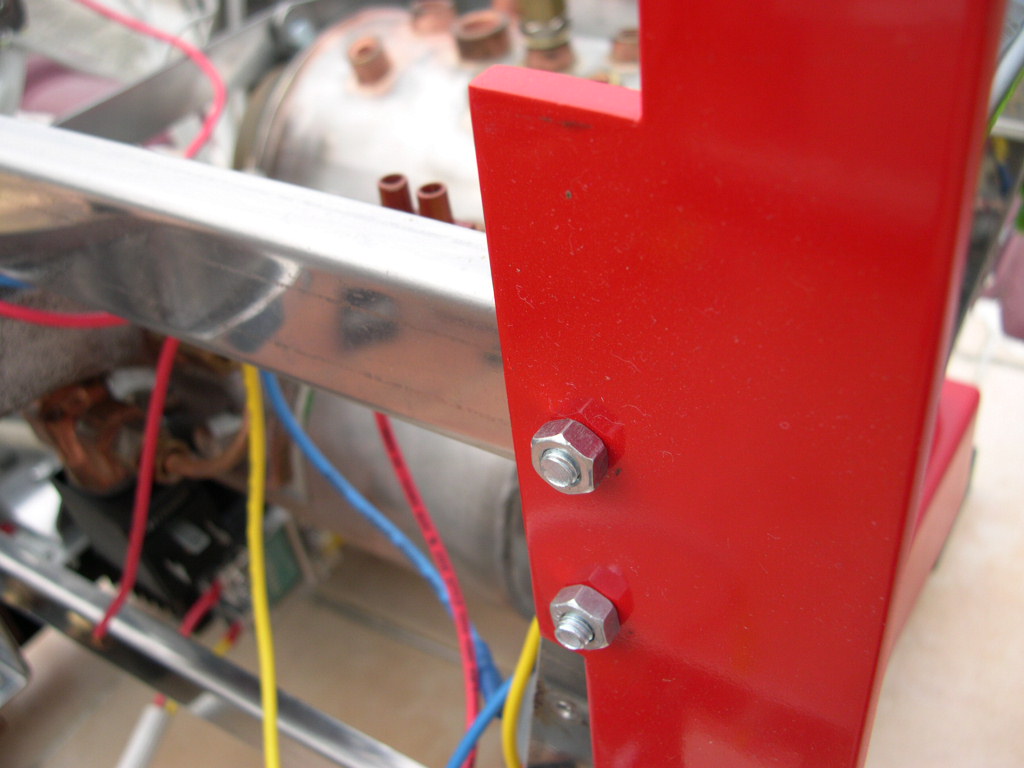
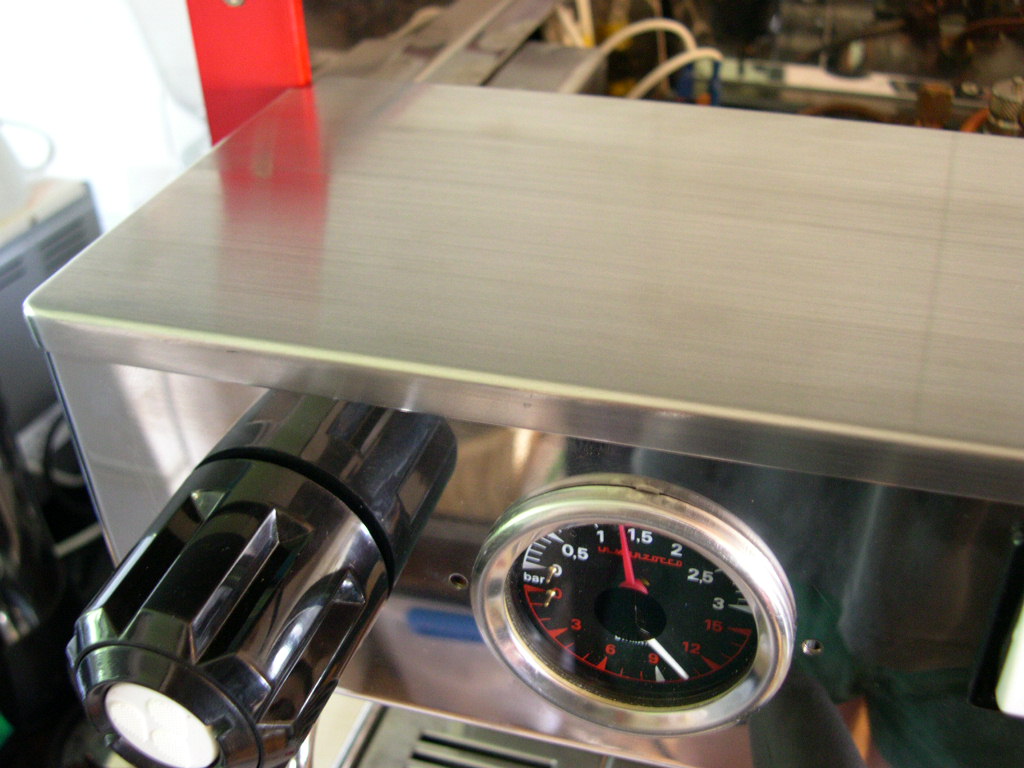
Polishing and reassembly
I am proud to say that all of the machine was done by myself - including the repolishing and refinishing of the
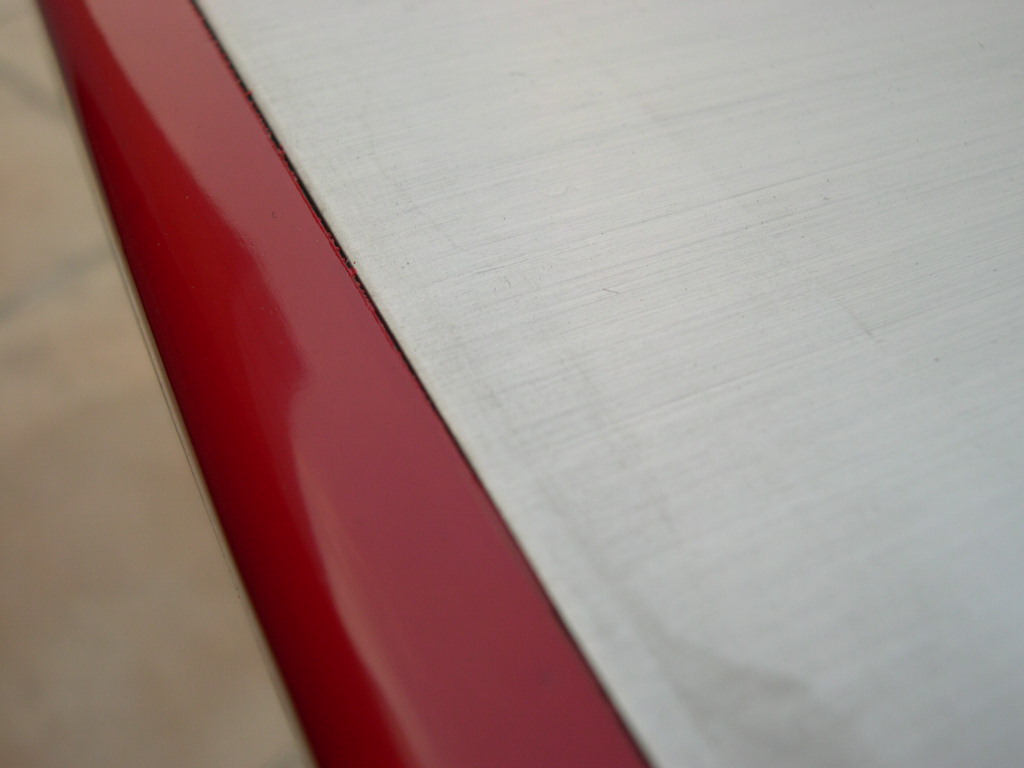
stainless steel panels. The Linea has both mirror and brushed finishes to the panels.


OK this is confession time. I am a huge proponent of the belief that a machine should be reinstated to it`s original
glory. However in this case I had to make just one exception - that is to replace the standard Fenwall thermostat
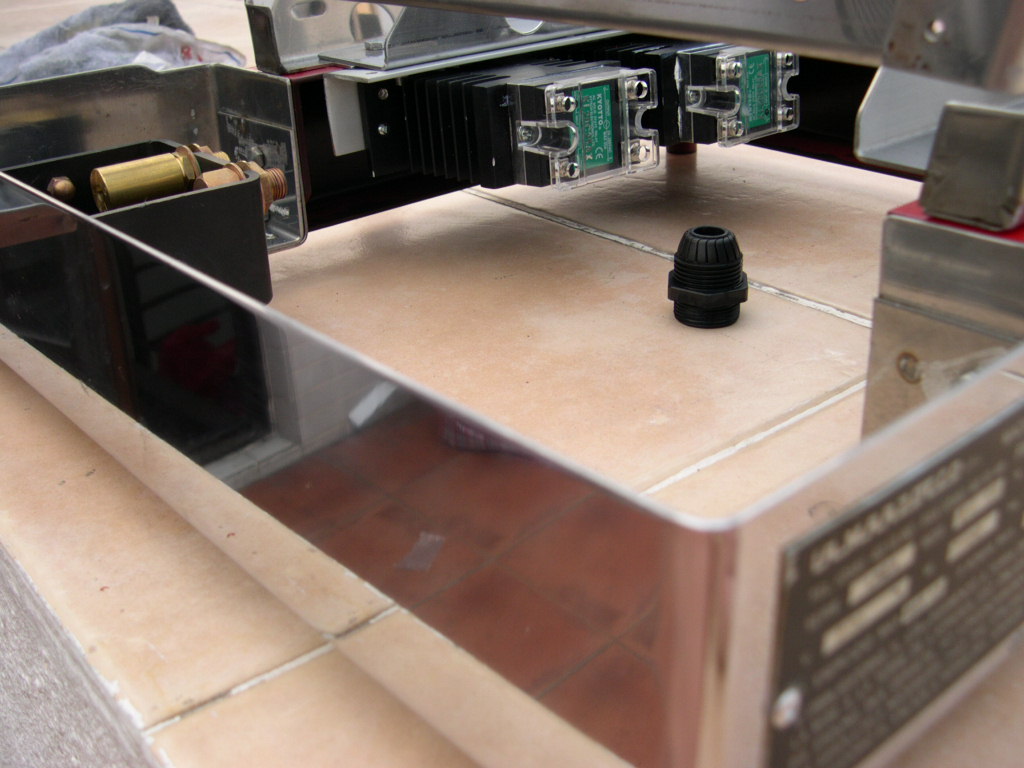
with a modern electronic temperature controller. To be able to use the PID controller meant that I also had to install
a Solid State Relay and another SSR to handle the switching of the steam boiler since I too would be using a more
modern component. To be honest the inclusion of the two hefty heatsinks are slight overkill but when you have
SSR`s located near a hot coffee boiler than you must reduce the risk of over heating any way you can. The 2
SSR`s are mounted out of sight under the machine on a removable rail and then a heat shiled (plate) is used to
cover the relays.
The only other drastic modification is the location of the PID controller. Since this is my machine I took a chance and
installed it in the front base so that it can be accessed anytime. The controller I am using has a waterproof front
cover so it was safe from splashes.


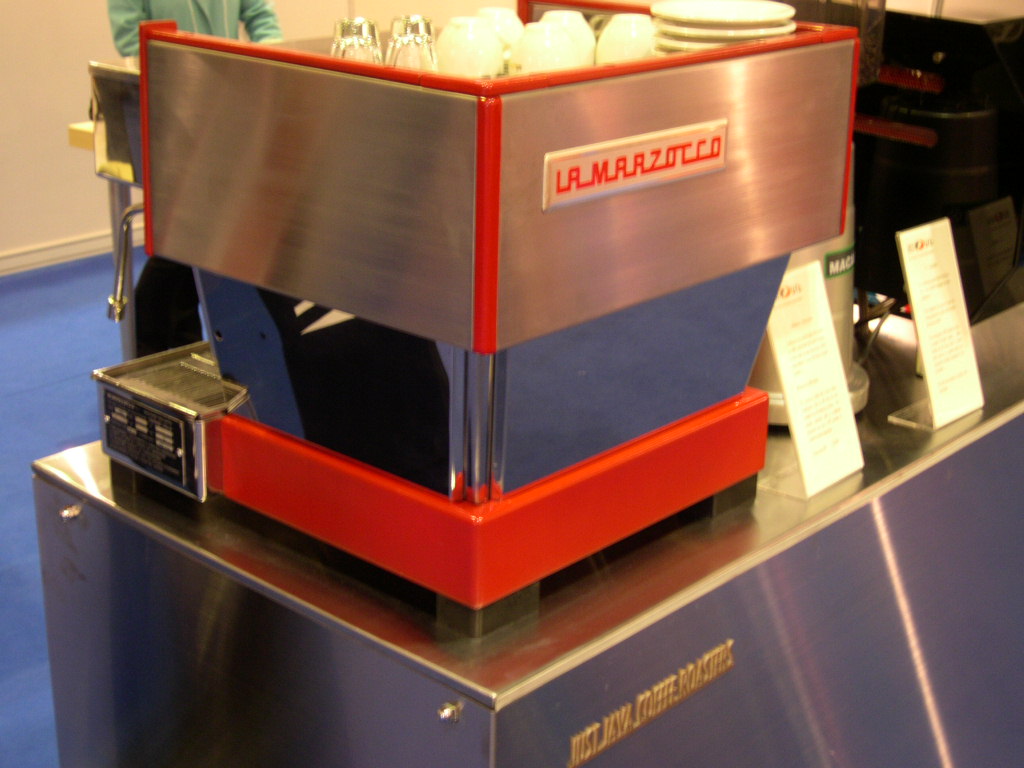
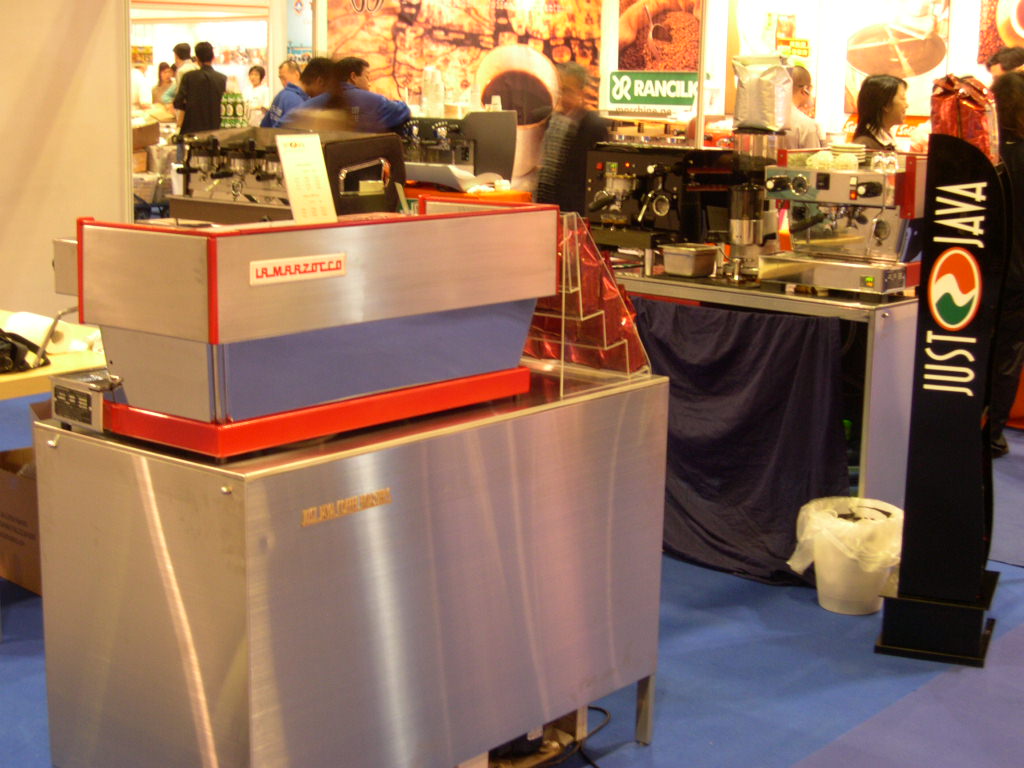
I took the machine to an exhibition that I was doing in HK. It was called `Restaurant and Bar`. To be honest and I
don`t mean to sound like I am blowing my own trumpet but nobody even knew that this machine was almost 15 years
old!
A lot of people remarked on the machine but I put that down to the PID controller and the red trim. The machine
was on for 3 days solid and must have pulled 1000 shots and she performed amazingly. I even installed a prototype
brew switch from Marzocco. Pretty cool I have to say but the same switch was on a Rancillio on the booth opposite!
But they used it as a mains on/off switch. Enjoy the pics.


I will say yes, but please ask first!
Email me here.