www.espresso-restorations.com
The Espresso Machine Restoration site
A non-commercial site for those interested in espresso equipment repair and restoration.

La Marzocco 1 Group Linea rebuild - Part 2
Cleaning and descaling
Now this is where the fun starts because for the first time you can start to see changes and reveal the amazing
piece of equipment hidden beneath the dirt and scale. A tip I will pass on to you is to hold back on the descaling
until you have cleaned all grease, lubricant and gaskets from the parts. For example there is no point in soaking a
steam valve for a few hours in citric acid if it is covered with grease because the acid cannot penetrate. Also you
must remove all rubber and paper gaskets from components as these too will restrict the citric from doing it`s job.
The gaskets you will have to replace so just scrape them off and throw them away.
For the cleaning process I use a concentrated engine block cleaner. I used this too on the frame and panels of the
machine, it strips away years worth of grime in seconds. At the same time after giving the cleaner time to work it`s
magic I get out the high pressure water hose on the frame and some body parts (not the delicate ones obviously).


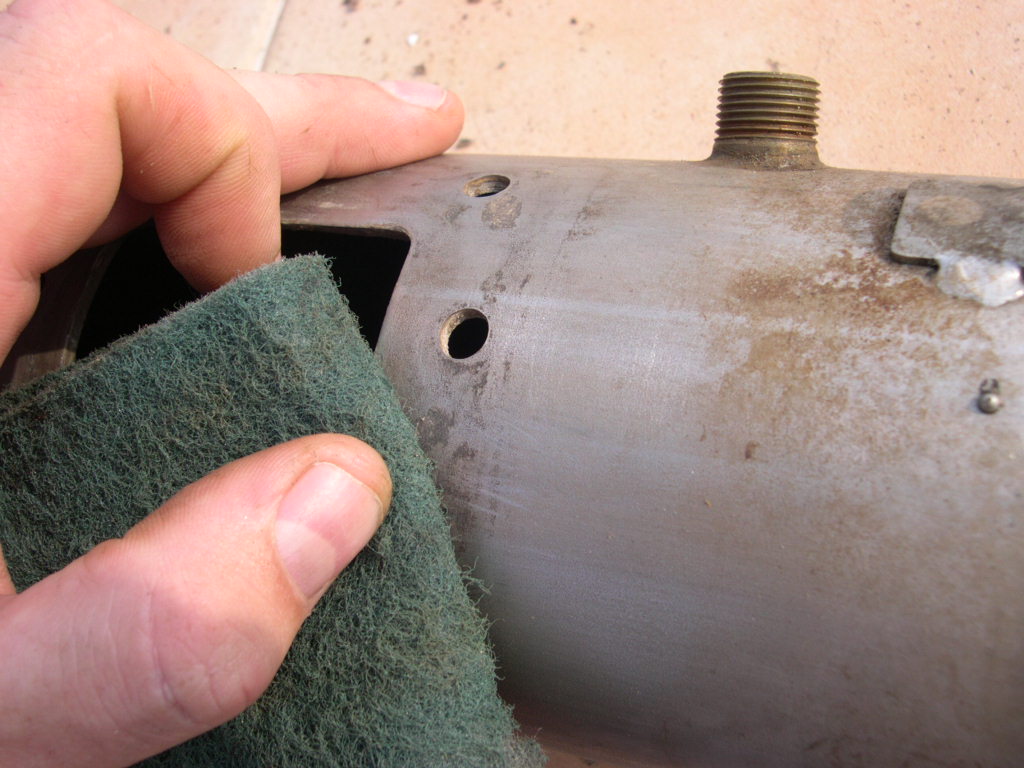
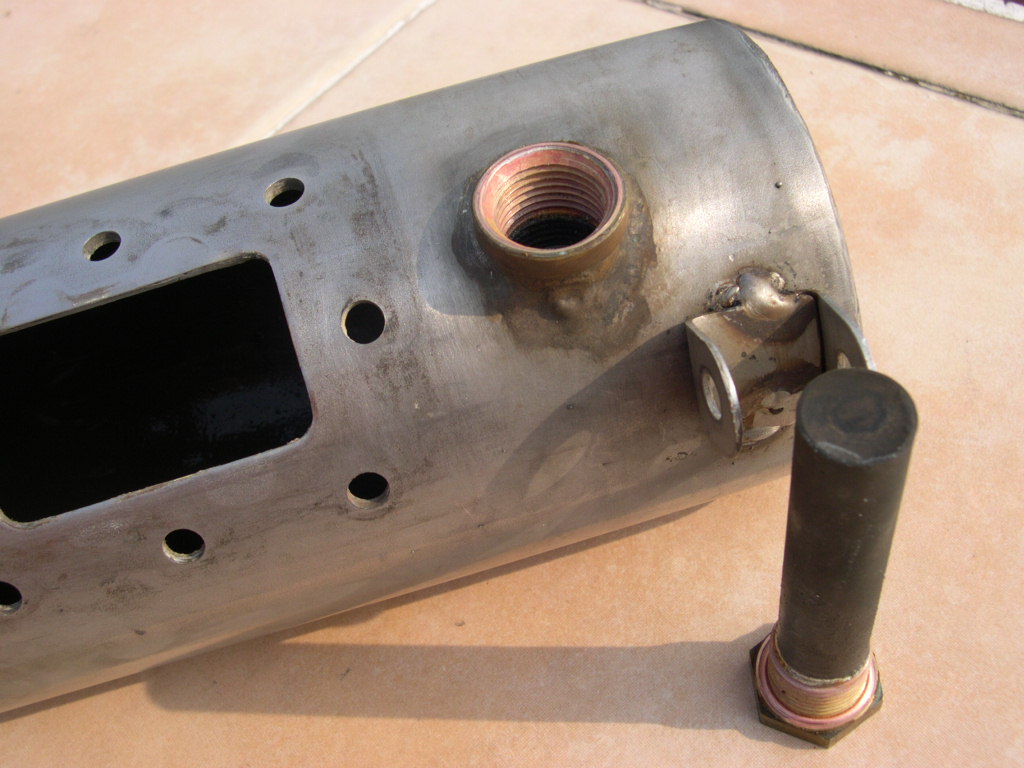


The first signs of a clean machine
Here are some pictures after having used the engine cleaner and water.


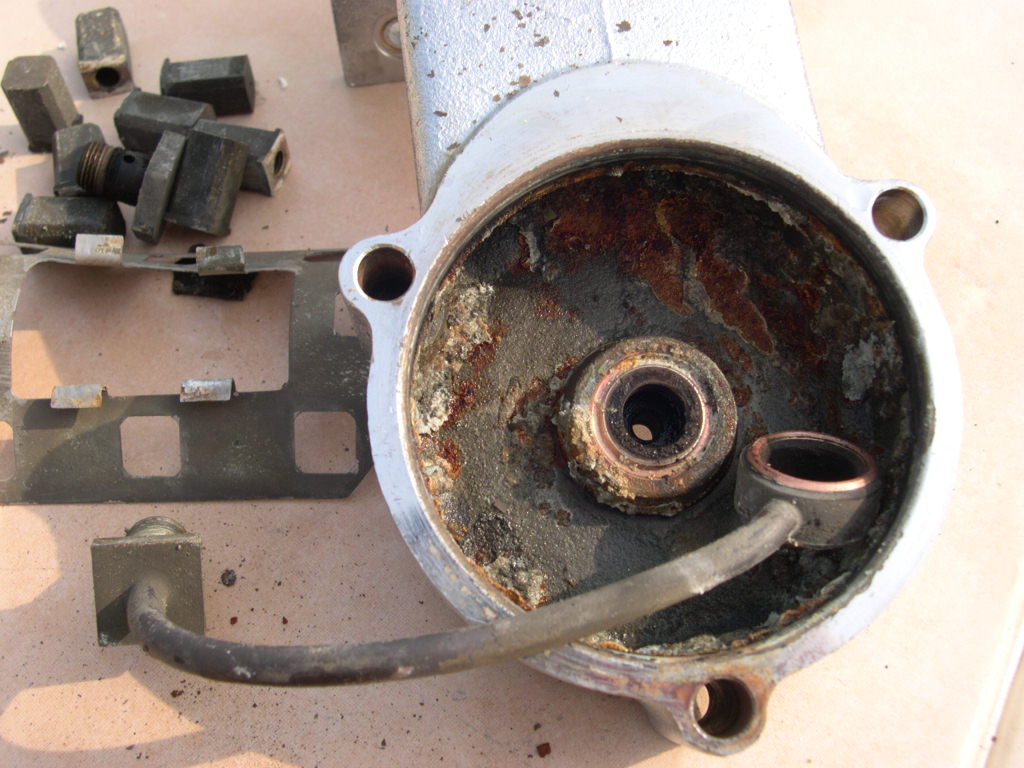
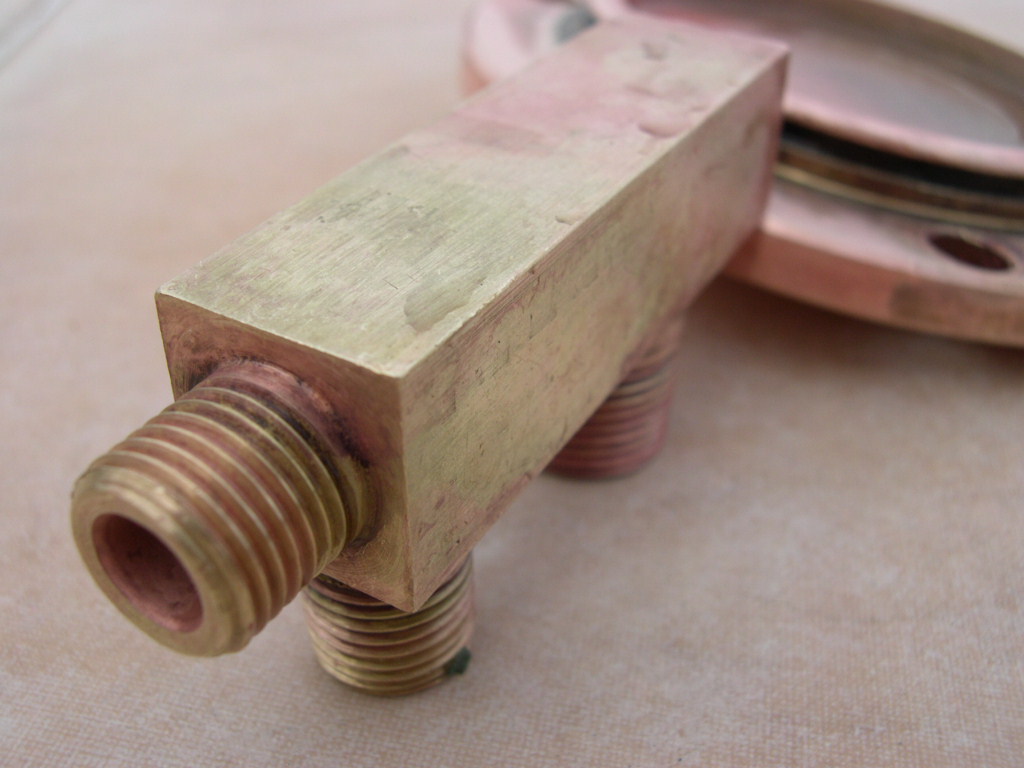
From the descaling bucket
The small items (washers, valve bodies, copper pipes) were immersed in the citric acid for approx. 12 hours. In that
time the water temperature was about 60 deg.c. The larger items such as the boilers were left in longer. In fact if I
remember correctly the steam boiler was in for around 48 hours.


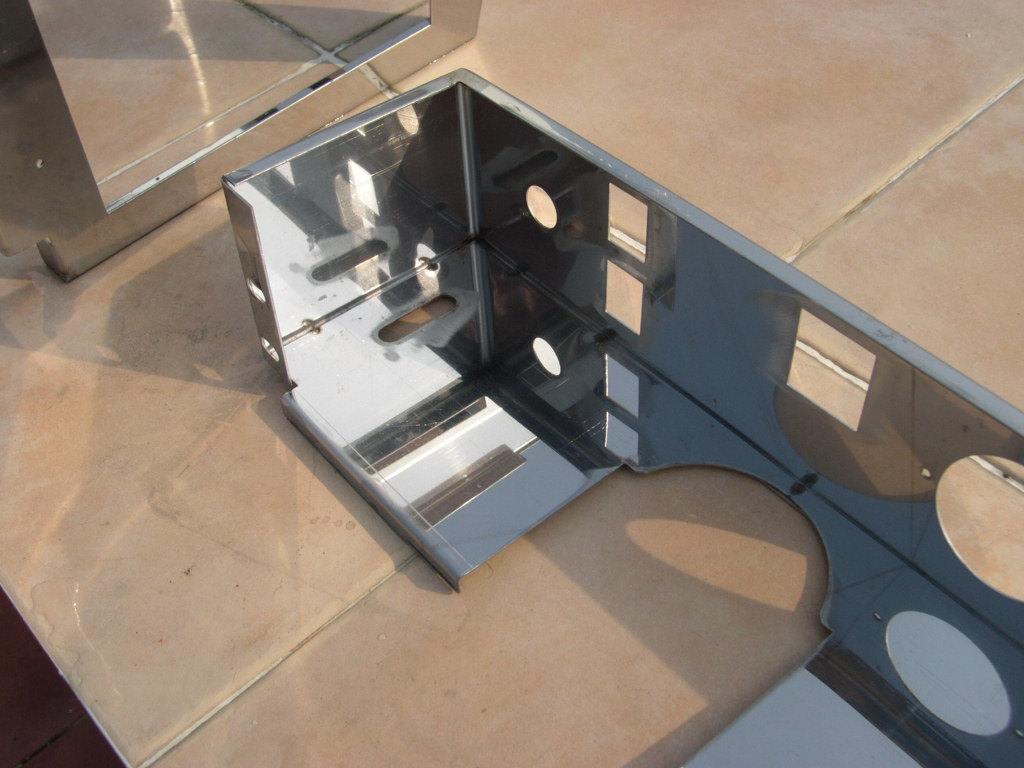
Refinishing the frame
Most probably 99% of Marzocco machines have a standard black colour for the base and the panels trims. They
used to offer a RED option (more a terracota colour). Since the base was in a real mess anyway I decided to
change the colour to red, I have done this on some earlier work and the results were spectacular. Although not a
great spray painter I do understand that the success of the paint job depends on the preparation work involved in
getting the surface smooth (sanding down) clean and oil free. In this case I started out with a clean frame and trim
panels, started using wet/dry papers from 100>1000 and then painting with both primer and red top coat. If I was not
happy with the finish then I would `flat back` the coat i.e. sand it down again using 800/1000 grade paper and
respray.


Cleaning,descaling and refinishing complete
The hard work is finally over! No seriously for a moment the previous sections are what seperate a good restoration
from what we English would call a `cowboy` job. Like the paint job, you only get out what you put in and if you take
short cuts over descaling or you don`t strip components down then you haven`t really restored everything. I don`t
know about you, but I would be comfortable if I hadn`t stripped every valve, every solenoid valve and every nut and
bolt down. In fact some things I have not taken pictures of are the cleaning and refinishing of the original nuts and
bolts used in the machine! Yes everything can be used again and again - corrosion permitting.
This website is created by Paul Pratt, Hong Kong 2004. If you would like to use any of the images or text I am
sure I will say yes, but please ask first!
Email me here.