The Espresso Machine Restoration site
A non-commercial site for those interested in espresso equipment repair and restoration.

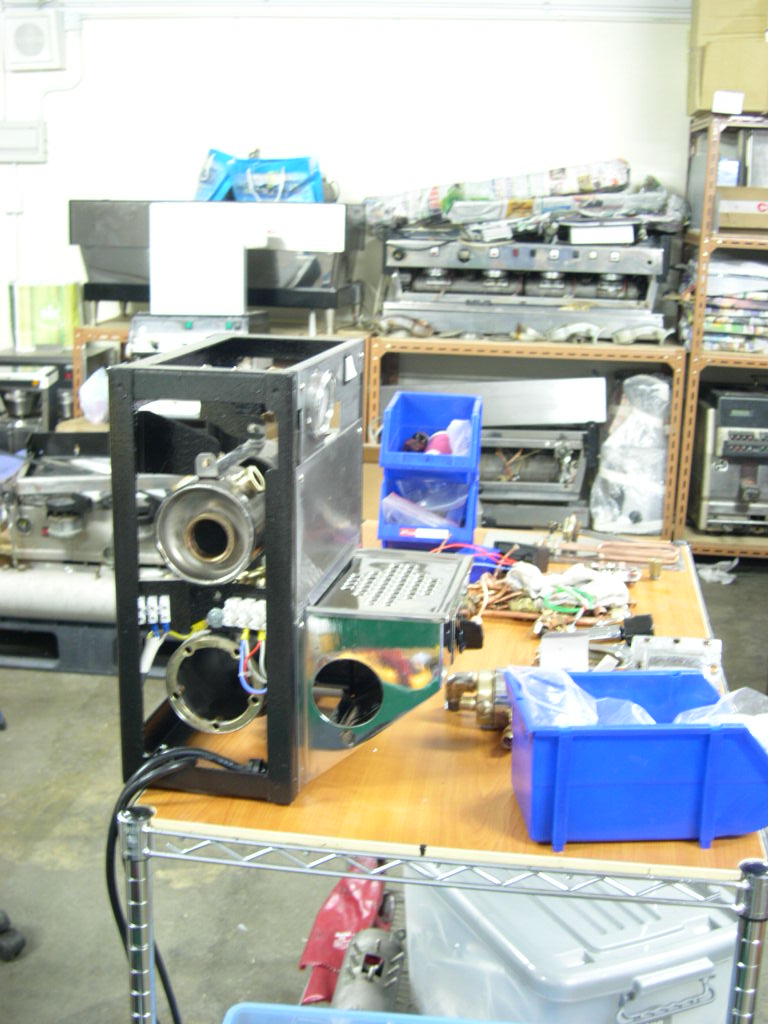
So now the hard work has been done. To recap what I have done so far and an idea of the time taken...
Strip down the machine (incl. taking notes) 3 hours
Strip down all components 1 hour
Remove paint and rust from the main frame 8 hours
Apply rust prevention "hammer" paint to frame and inside the front footwell 8 hours over the course of 4 days.
Refinish the front steel panels to satin brush. 30 mins
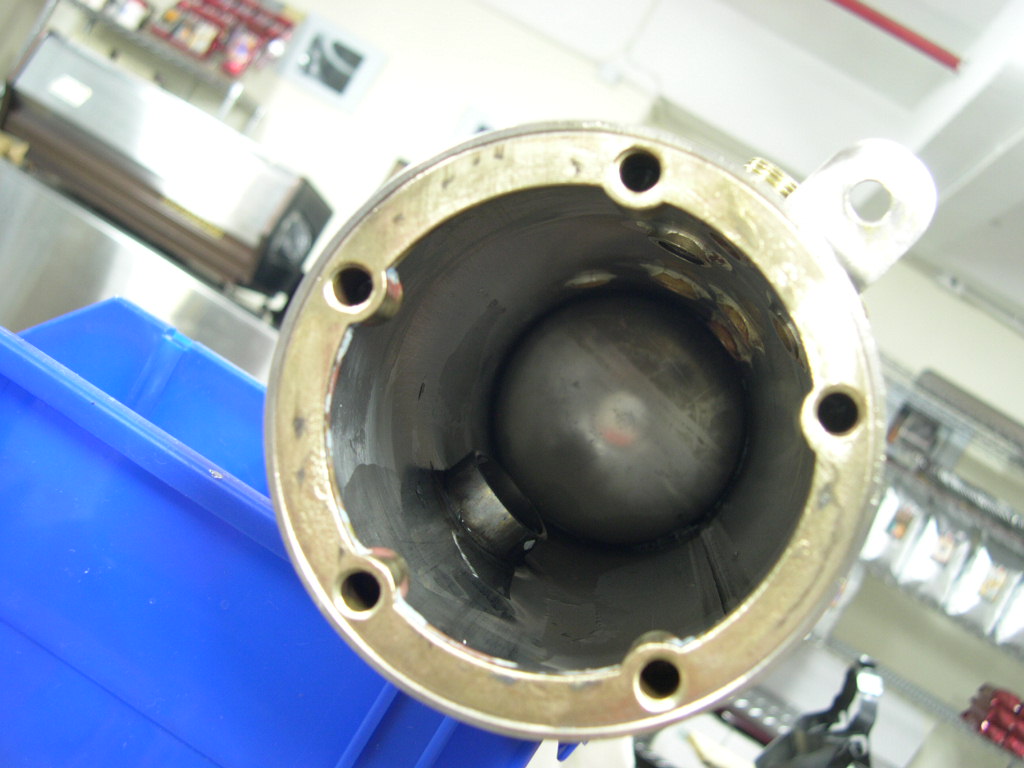
Descale both boilers and all copper pipes ongoing over 5 days
Polish both boilers on the outside 1 hour
Braze up a small leak in the brew boiler 30 mins
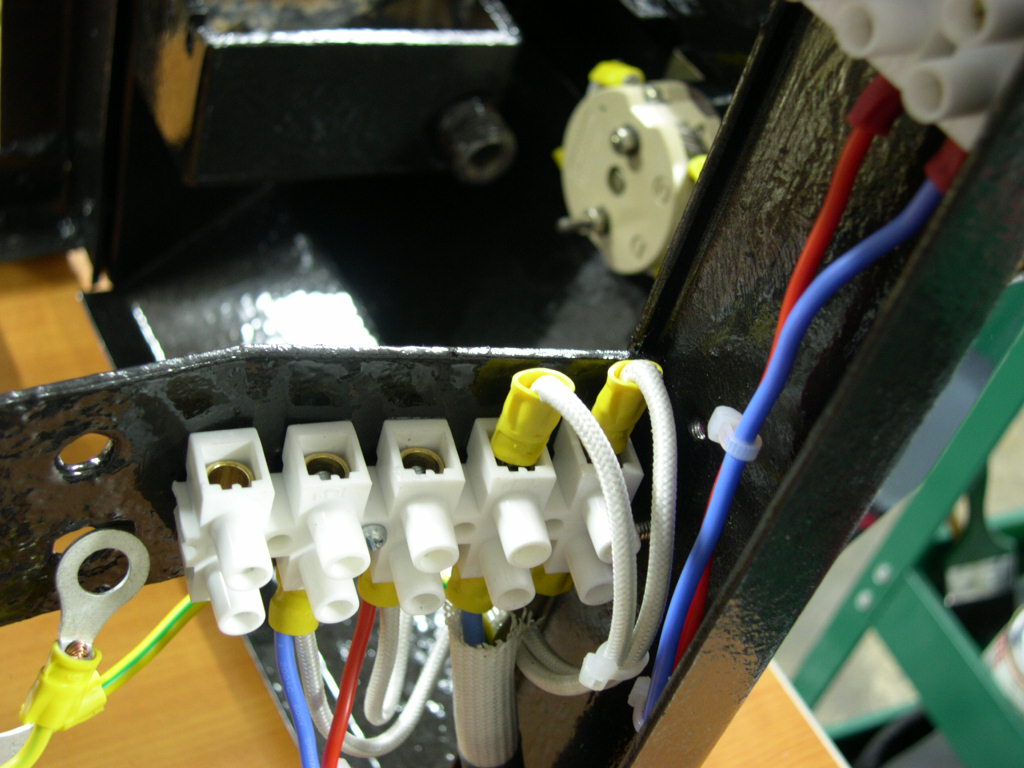
Dismantle the main power switch, clean contacts and rebuild 2 hours
Start the main wiring loom (incl. planning time) 4 hours
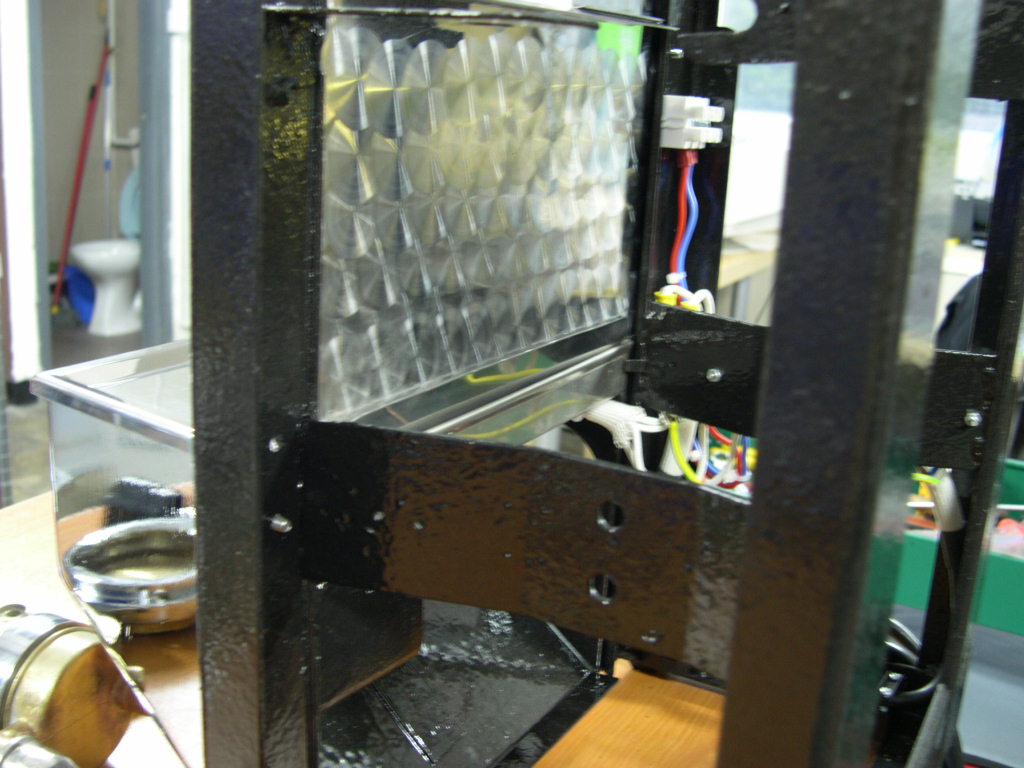
So now the fun really begins. I have to say I'm not 100% satisfied with my job with the hammer paint because it's
tricky stuff to use considering it was my 1st time. But I think now I know a few tips and tricks so I can do a better job
next time. The inside of the front footwell (that house the main switch) was badly corroded. That was also sanded
and wire brushed and painted.


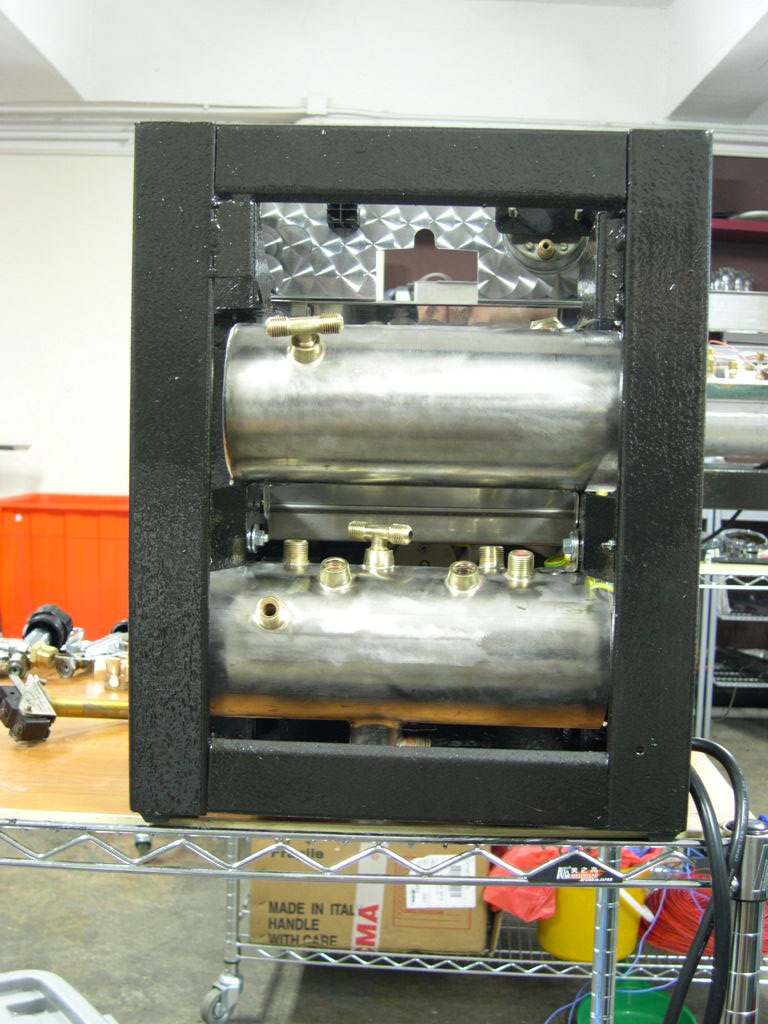
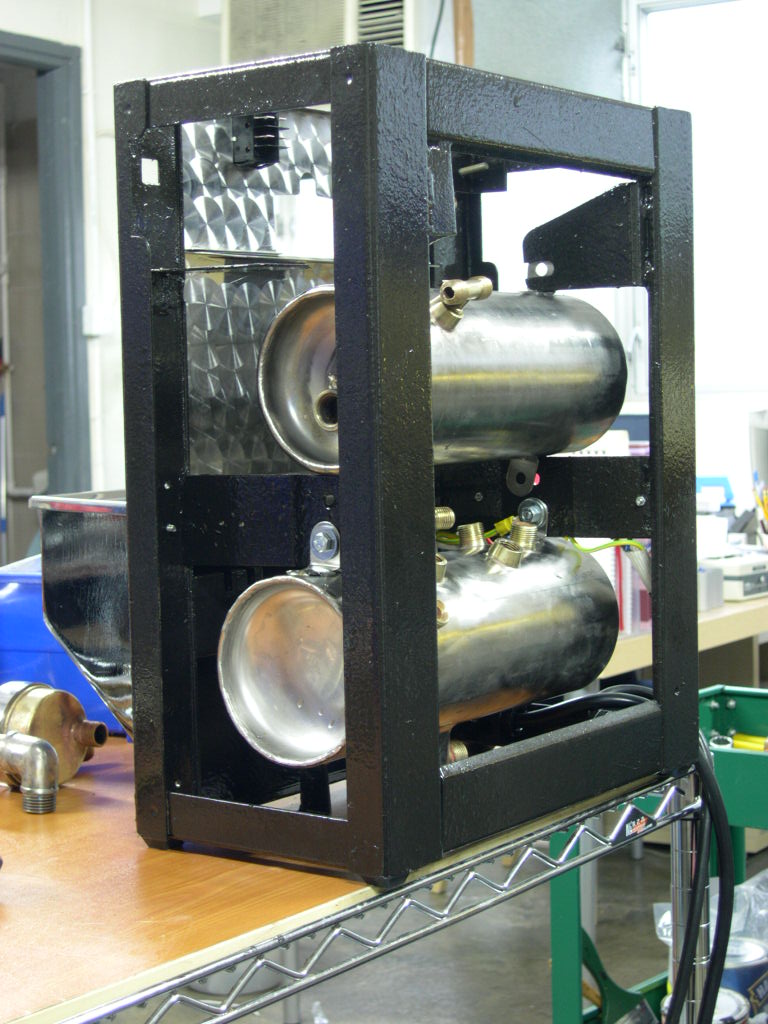
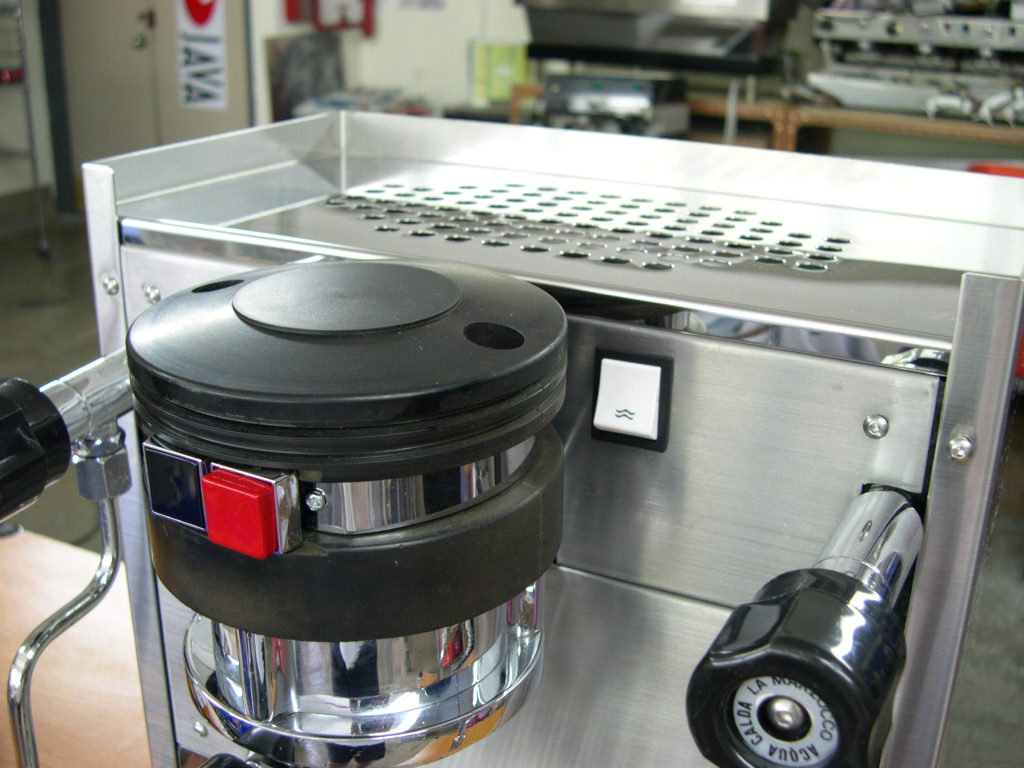
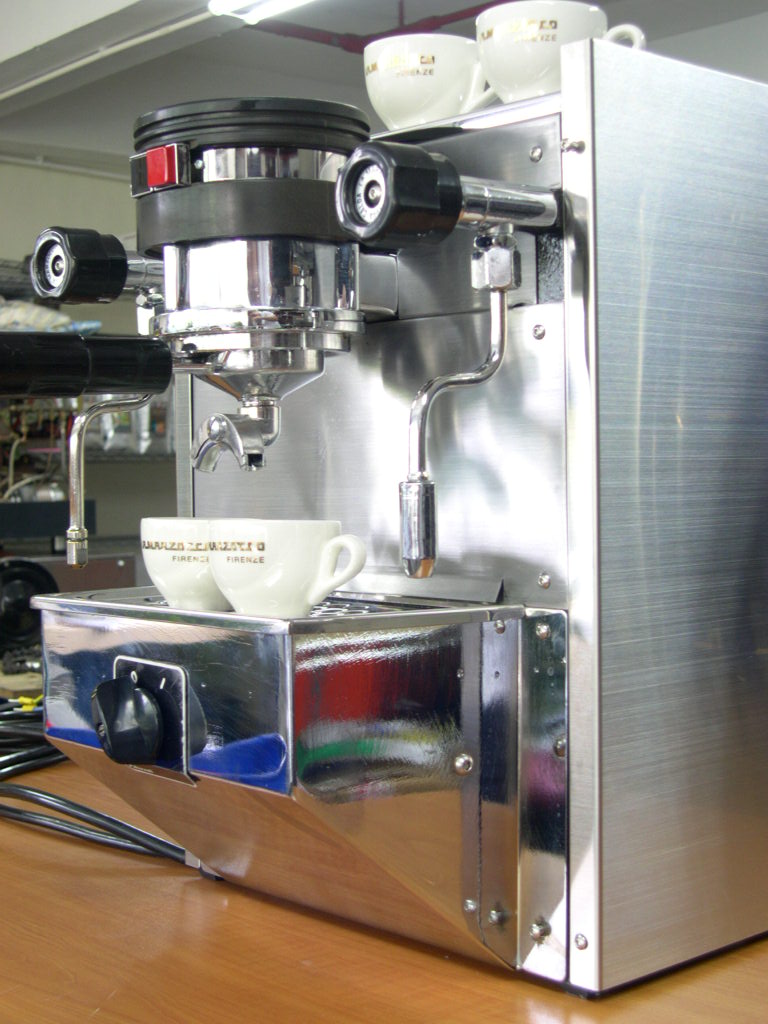
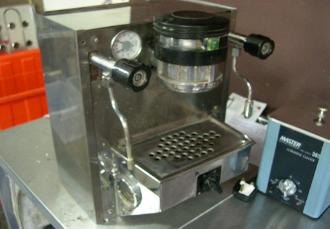
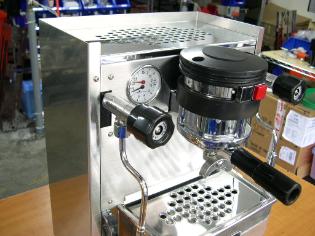
Here are a few pics of the final result. There will be a bit of tweaking here and there but it looks good and pulls shots.


The new parts that I had made were the main body which was made in satin brushed steel. And a cup warmer tray
made in mirror finished steel. The body was given an extra 25mm in height so that it created a bit of a cup rail. I did
toy with the idea of a bar type rail (like an FB70) but I'm happy with this.
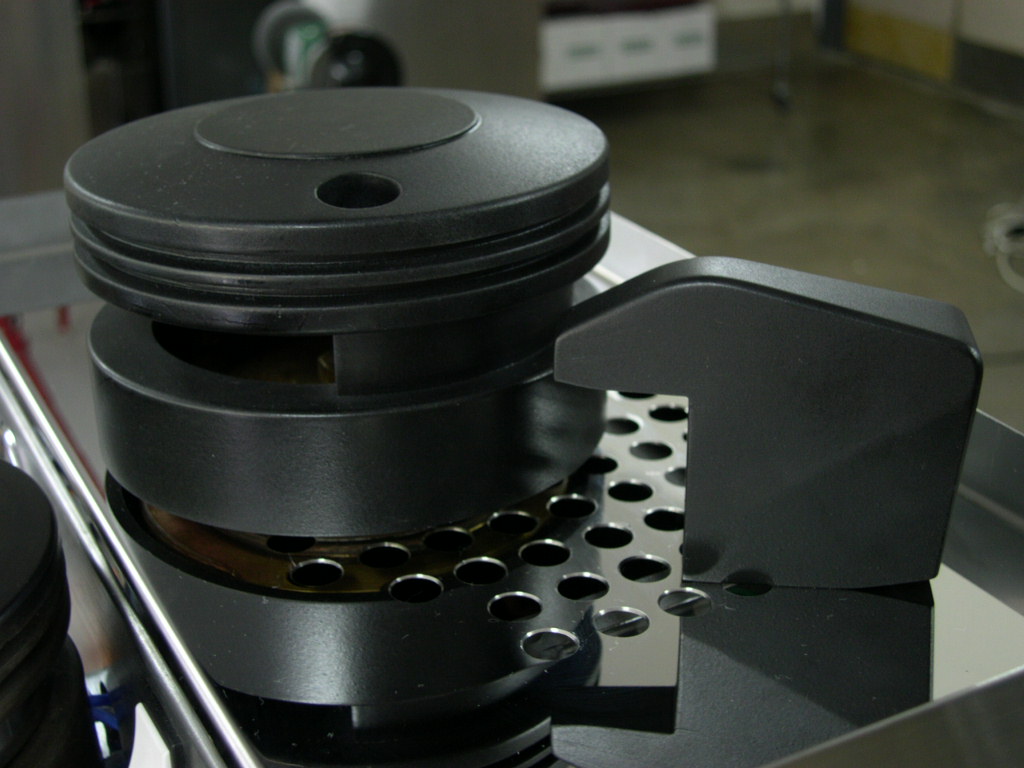
There is also a brand new bakelite group cover to go on but it needs to be adjusted so the switch will fit.


I will say yes, but please ask first!
Email me here.