The Espresso Machine Restoration site
A non-commercial site for those interested in espresso equipment repair and restoration.

Part 3
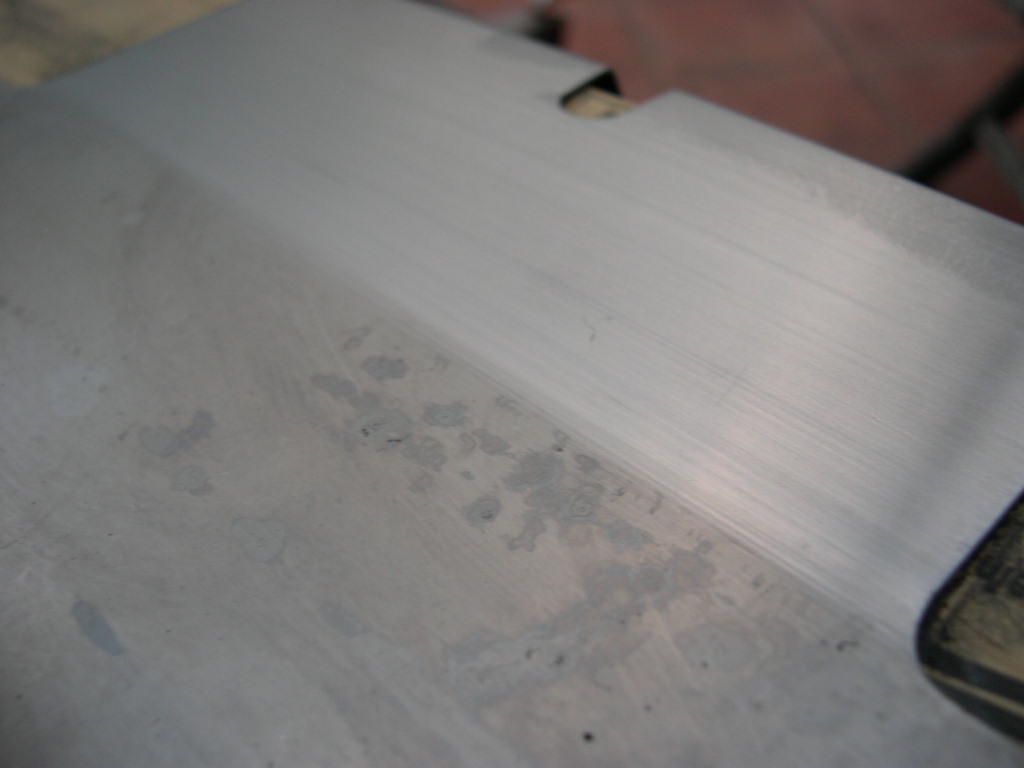
The frame restoration really took about 12 man hours. Stripping it down to bare metal was a task in itself but I am
glad that I did it properly. It was then primed with `red oxide primer` which is a rust prevention paint and a good
base onto which to spray the brown metallic finish.
I must also add that I do get really carried away when putting the machines back together and therefore I forget to
take pictures along the way. So what you will find is a jump from components to complete machine. However before
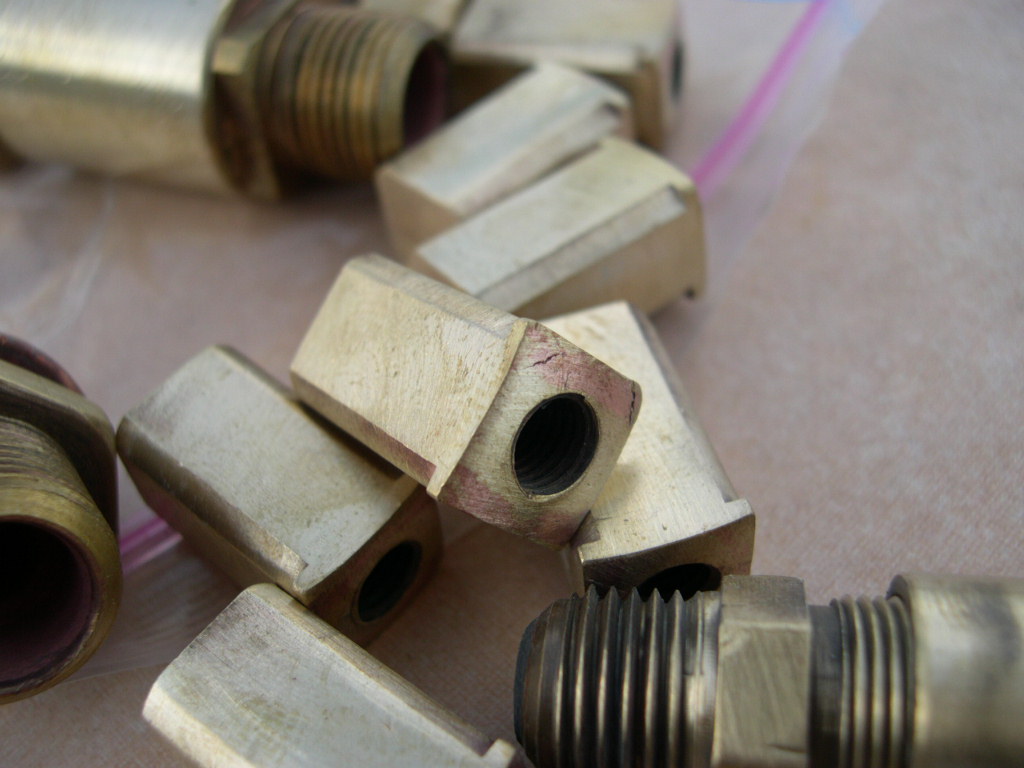
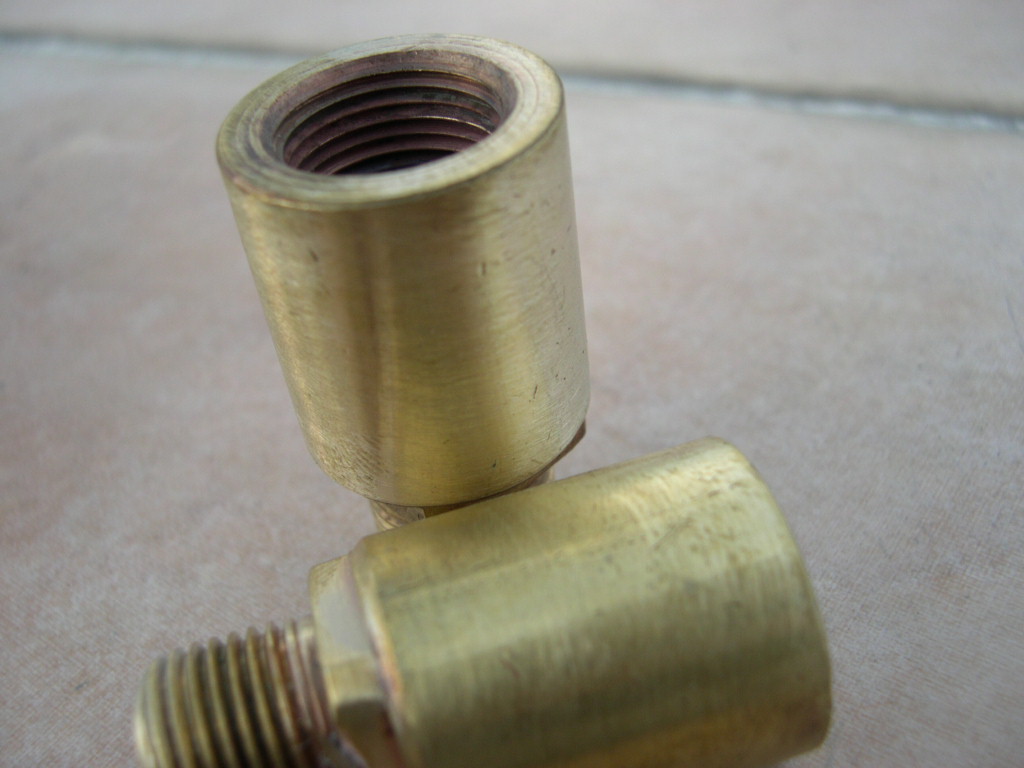
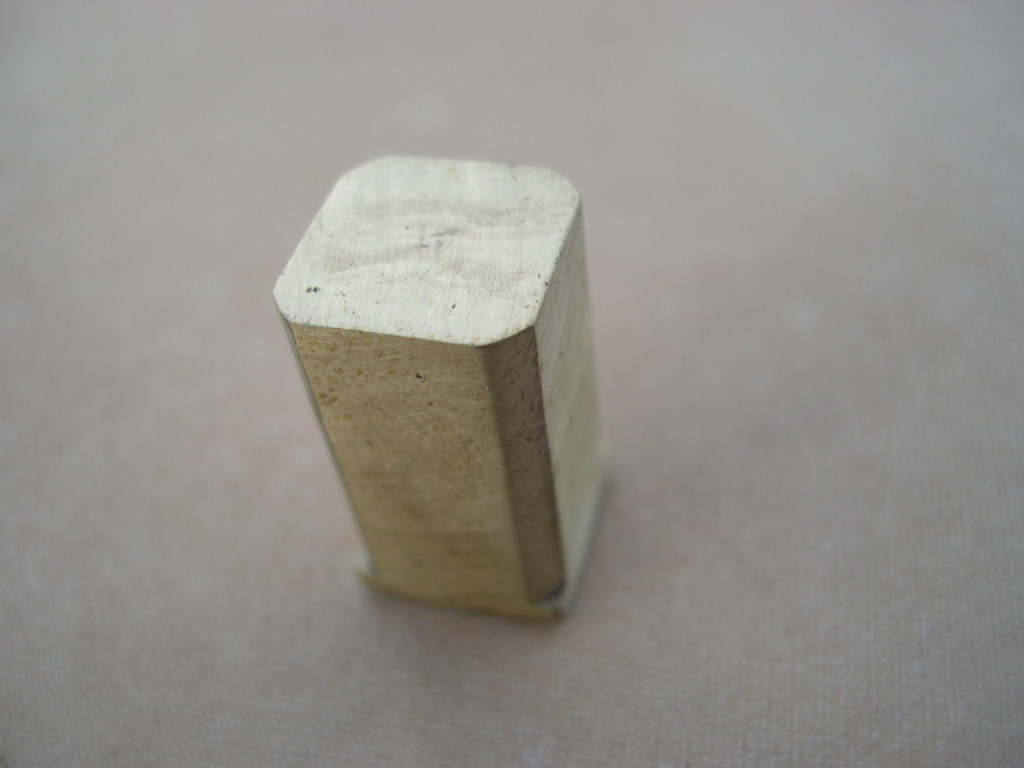
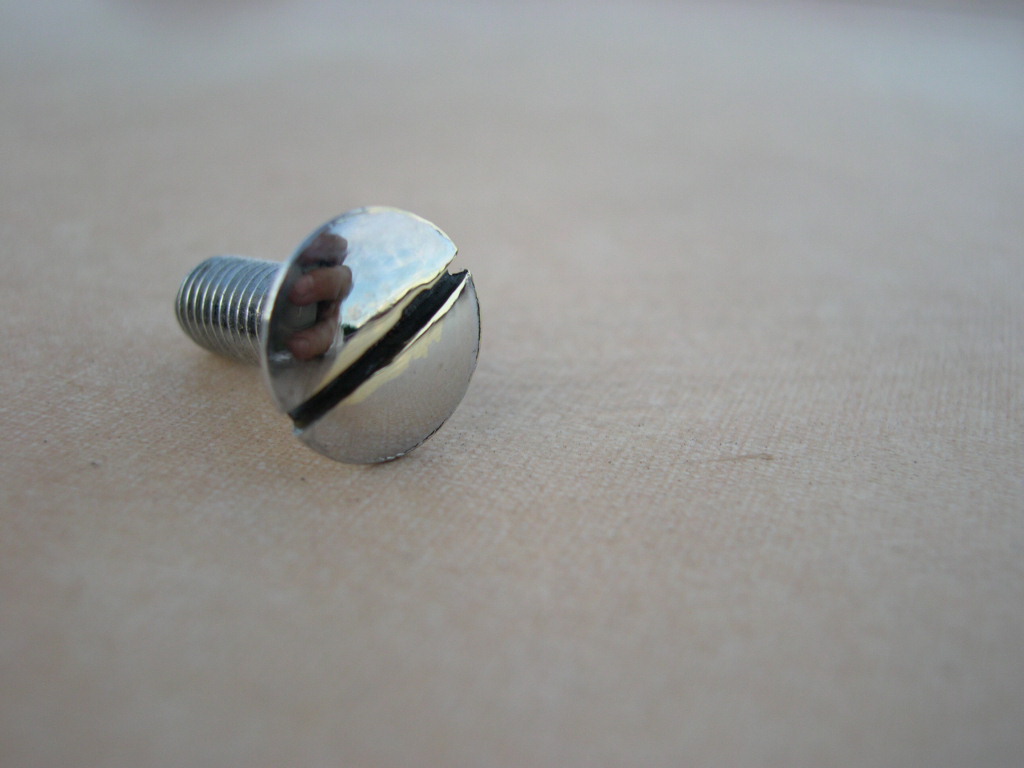
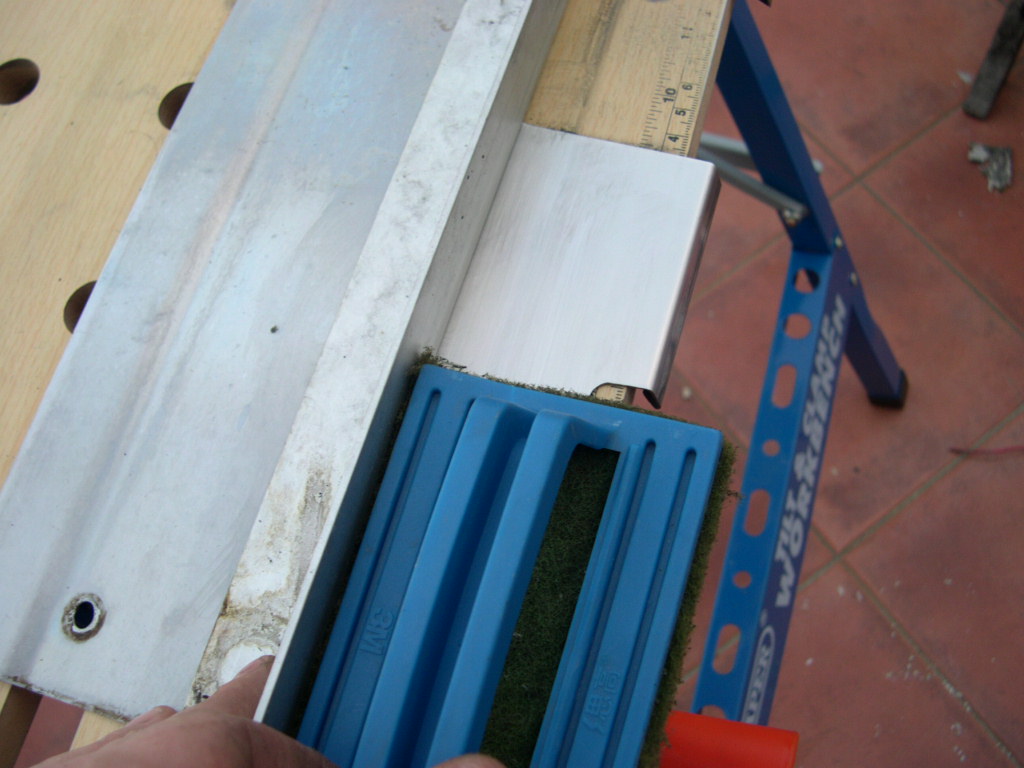
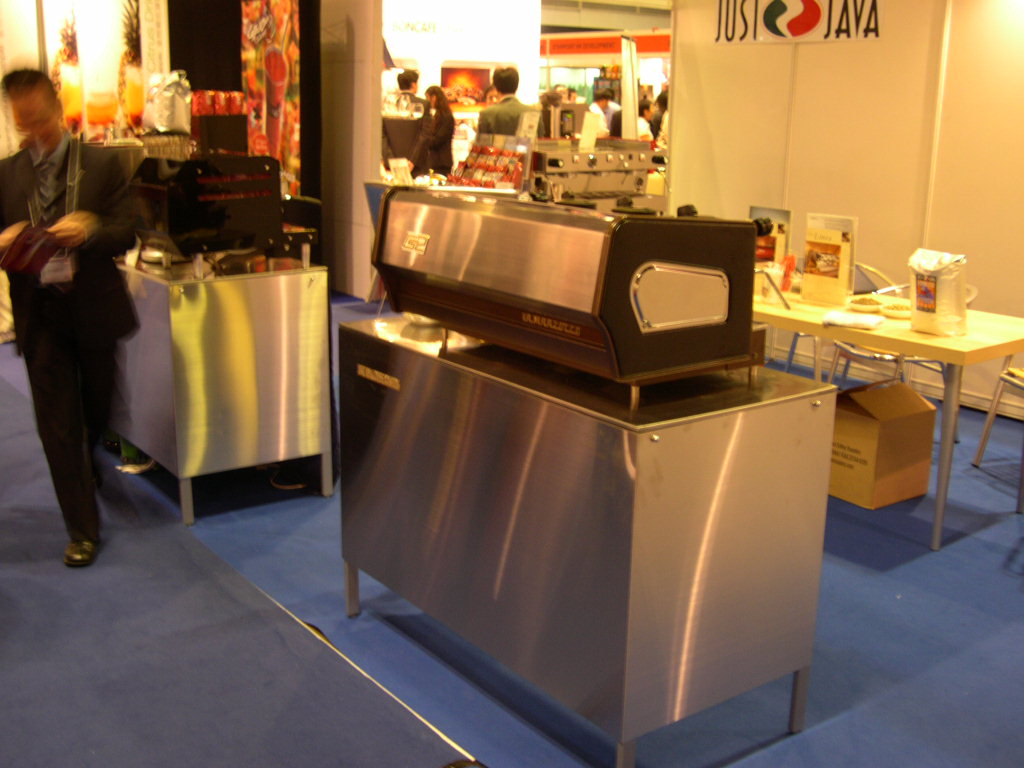
I could put everything back together I had to find or fabricate some suitable feet. The machine came with 3 feet and
1 was missing. I searched high and low around HK for a suitable replacement that was close to the original flared
feet. Without much luck I decided upon some solid steel legs which were originally door knobs! Although nothing
like the originals the height was similiar and I liked their design. With some minor modifications they soon found new
life as the feet on a GS2.


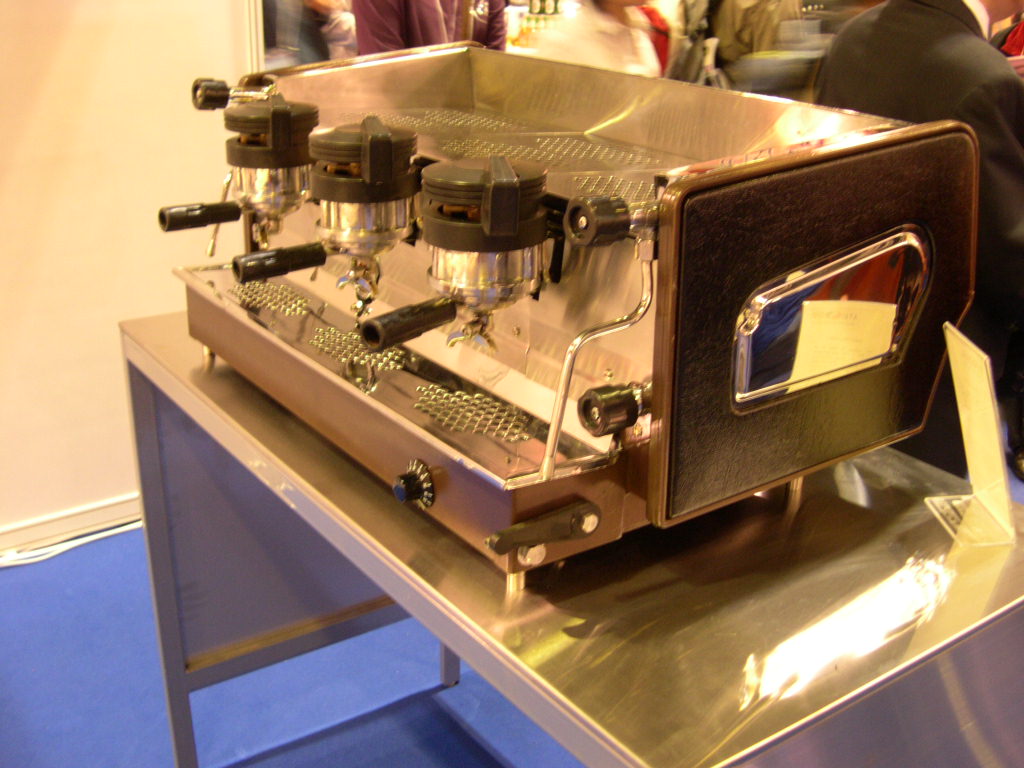
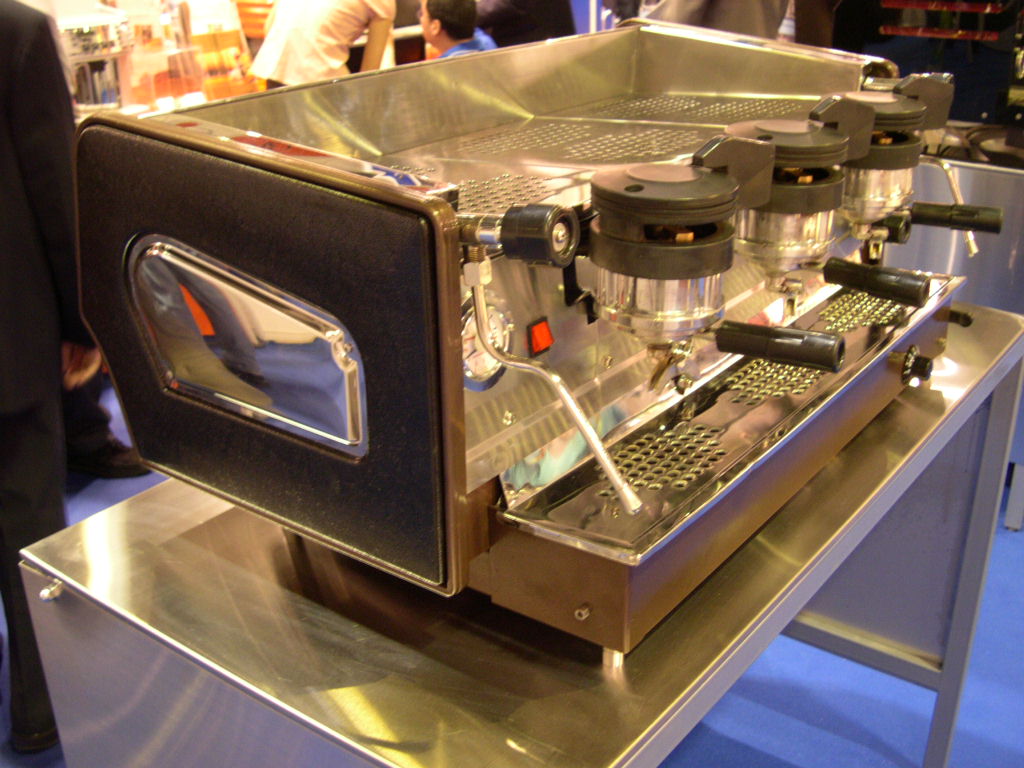
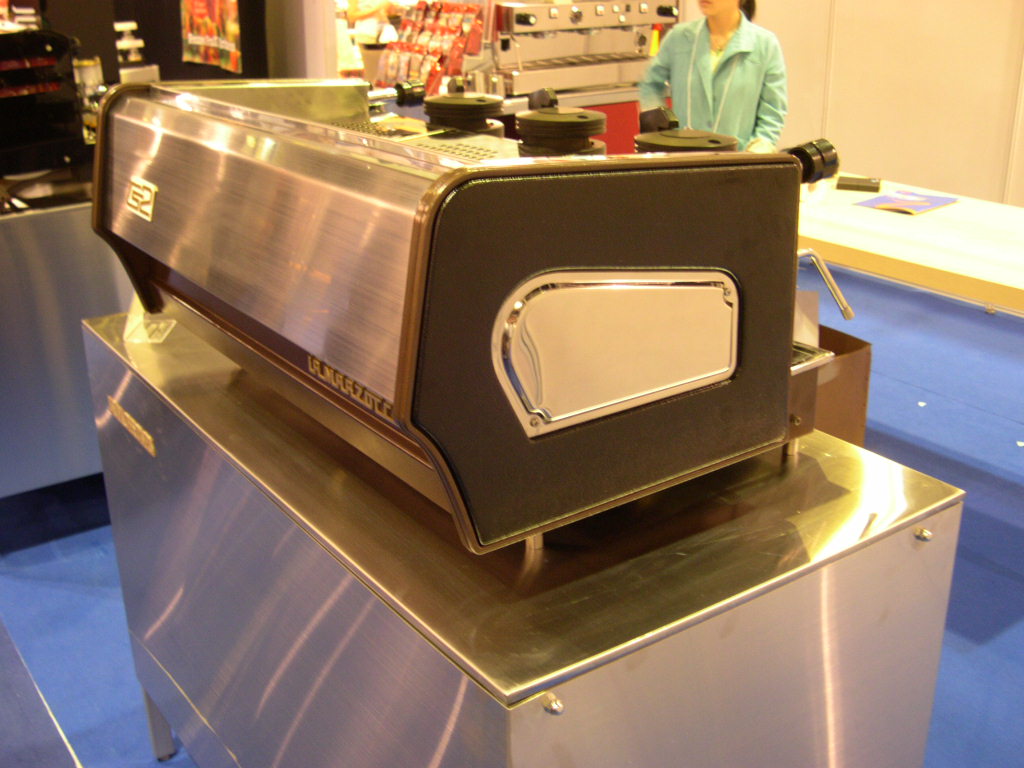
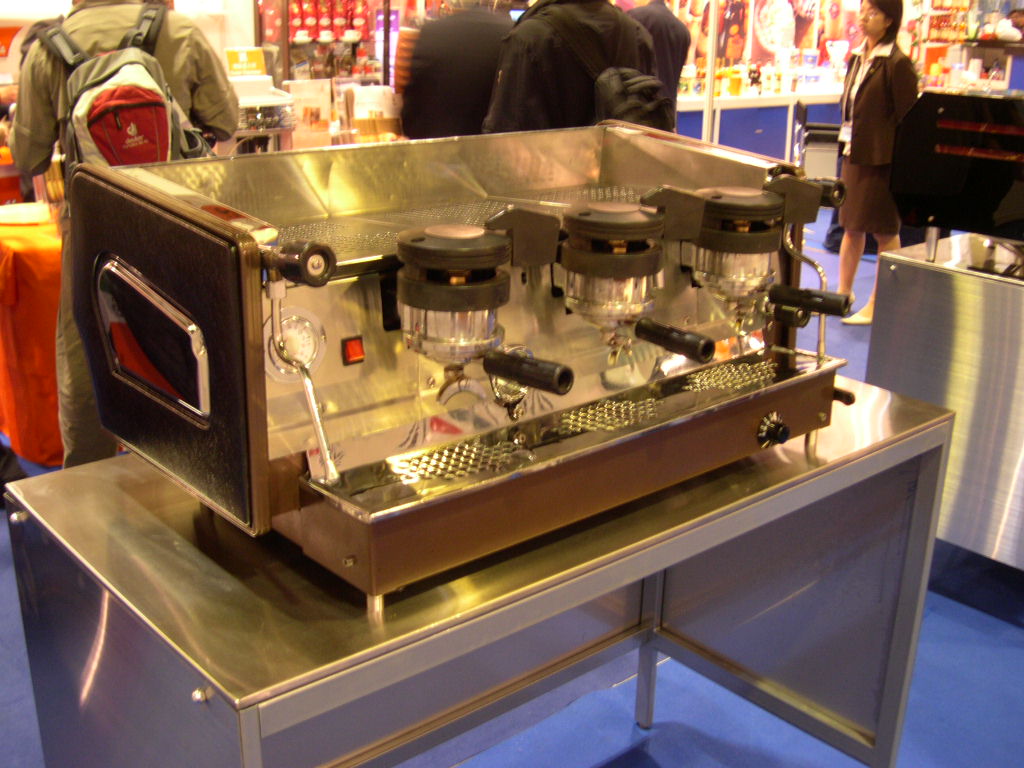
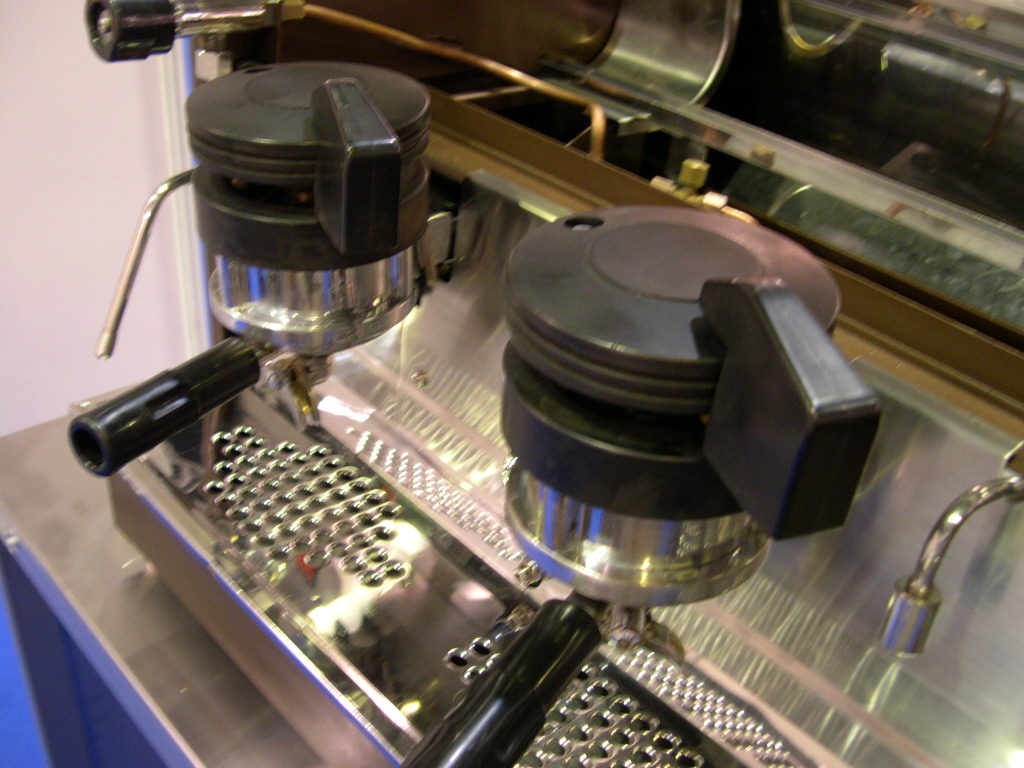
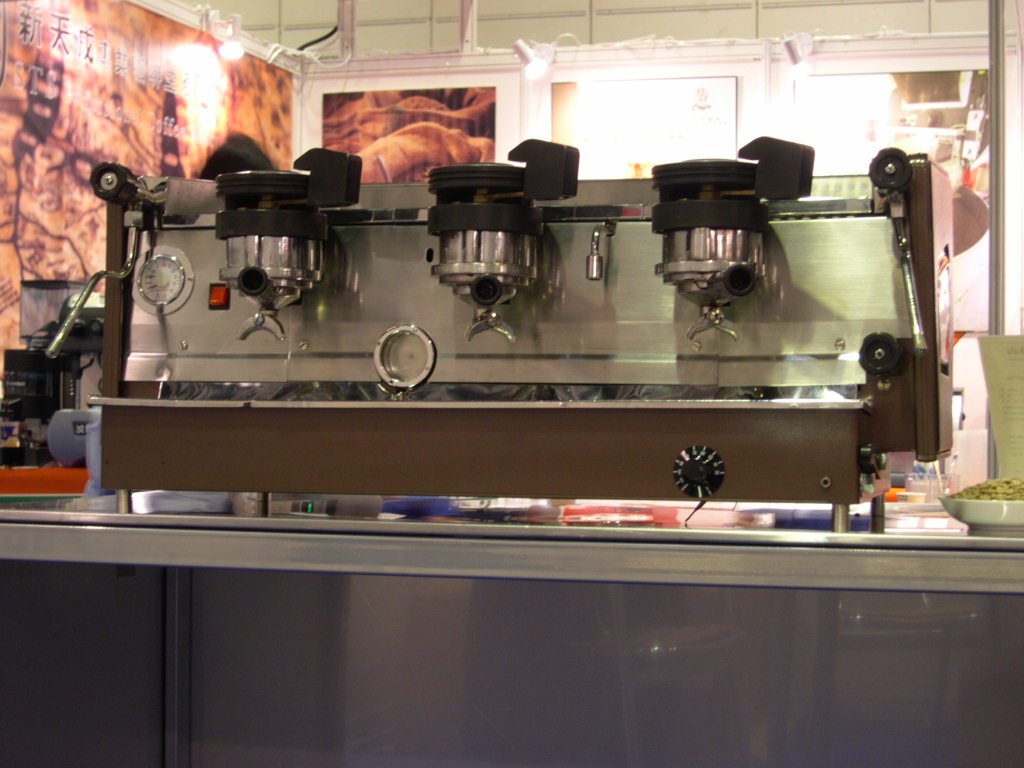
As I said before, I tend to get a bit carried away and involved sometimes especially when I am close to getting it all
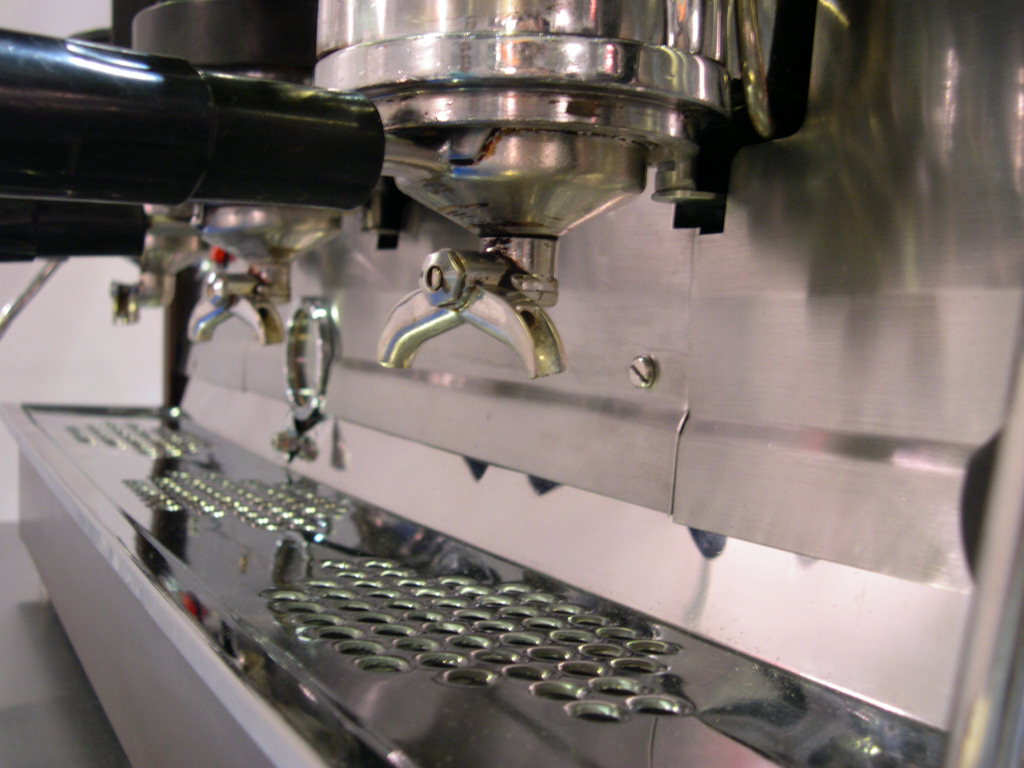
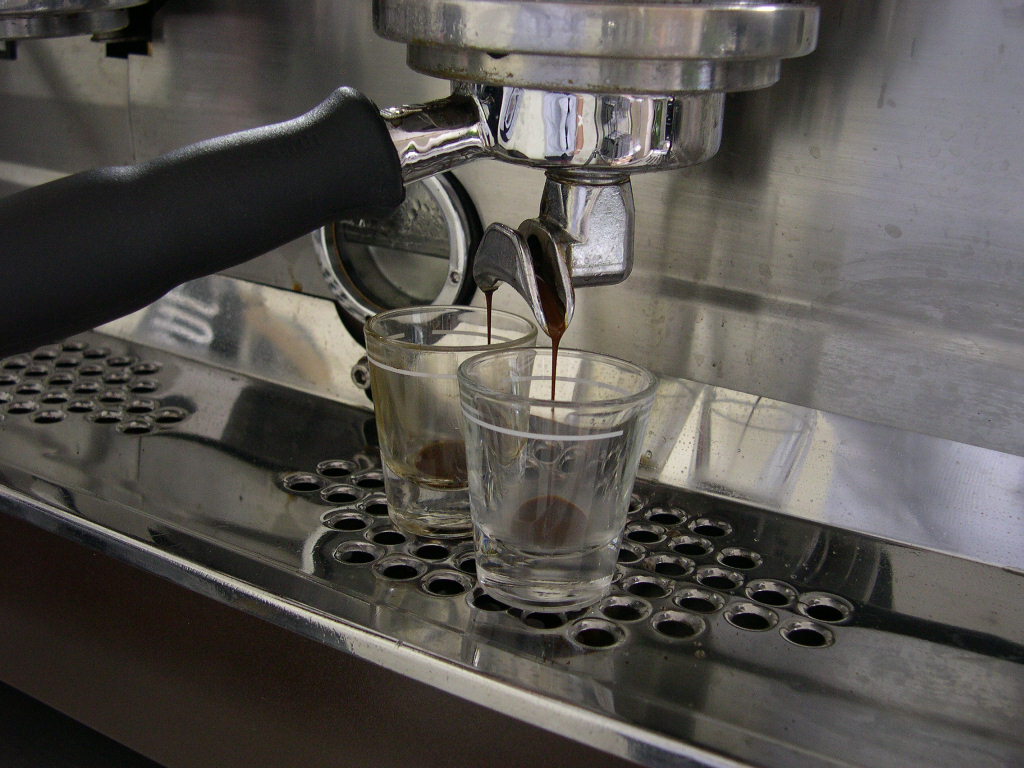
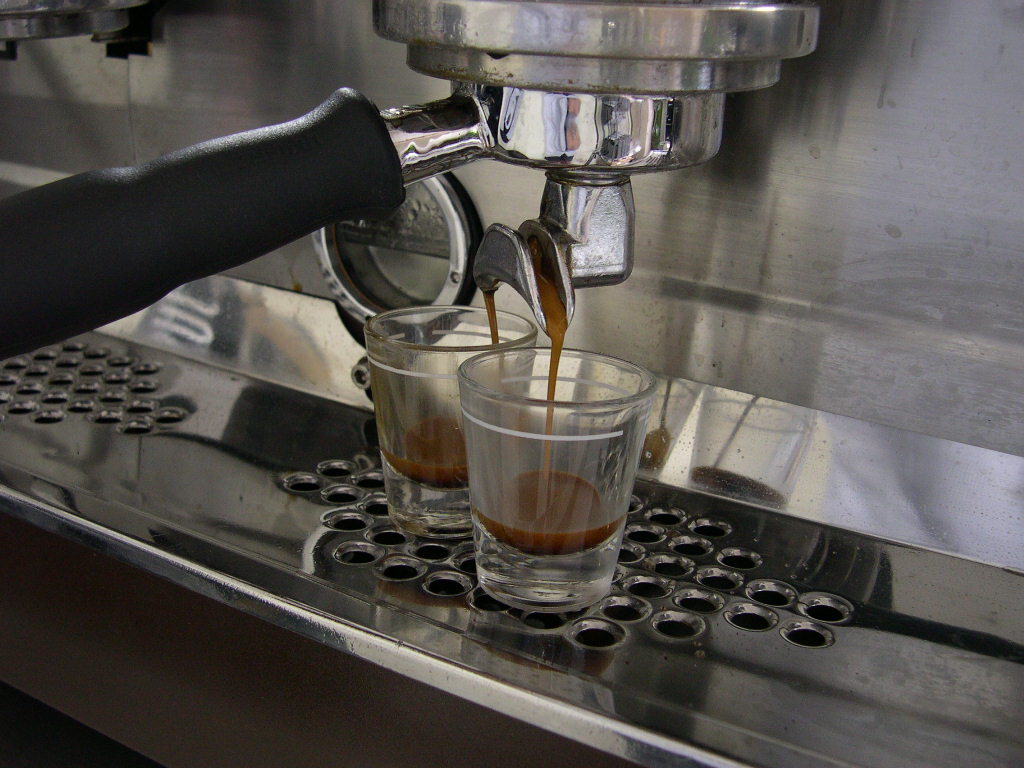
back together. Hence the jump to the finished machine. After I assembled the groups they went under pressure
testing for a few days. This is part of the assembly process anyway and also it gave me a chance to make sure the
groups were functioning as they should. And of course all 3 of the things leaked! But actually I can pat myself on
the back because the actual group was ok, the leak came from where the group seals with the diffusor block. I had
to go back to my o-ring shop and get some thicker o-rings. This was a pain because if you have to take the group
covers off from the group then you have to change all those gaskets again!
Oh well it was better to do it all properly. Anyway the worst part was I had to wait over a 3 day public holiday before
the o-ring shop opened again and it was frustrating to come so close to be delayed by a shop not being open.


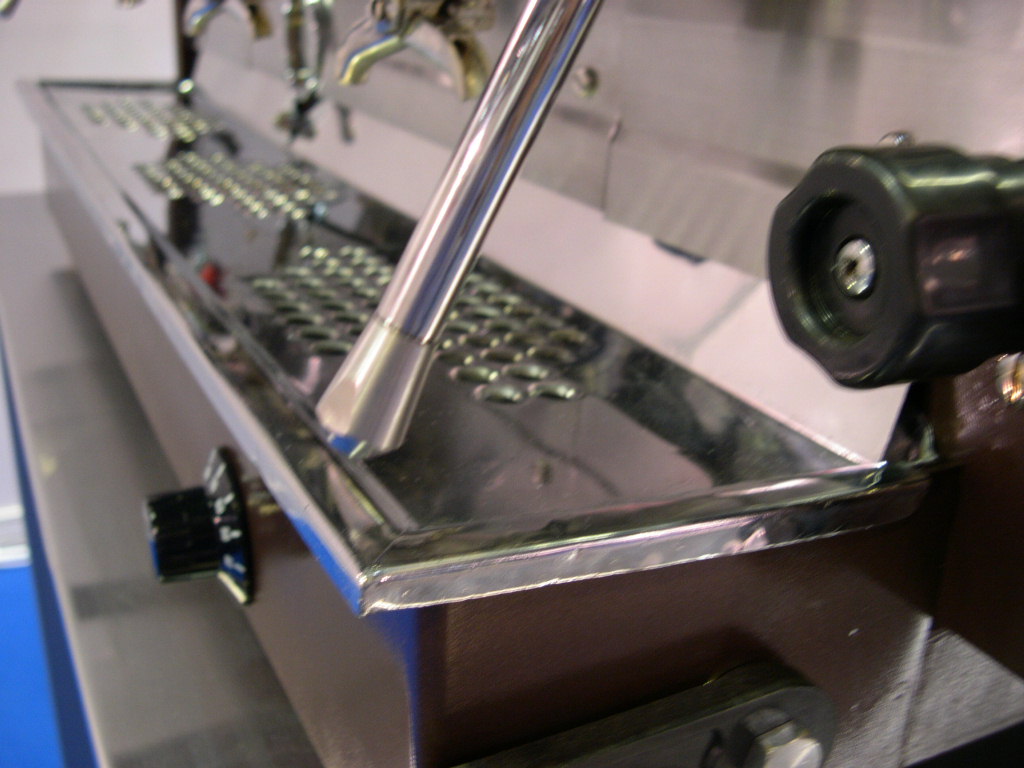


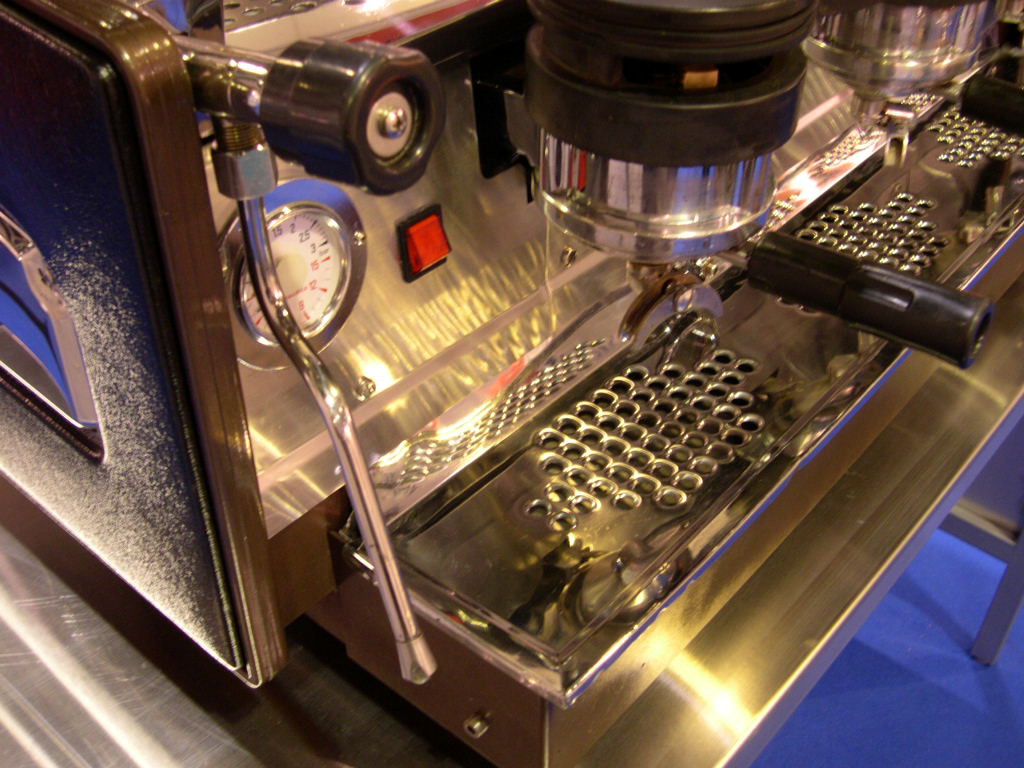
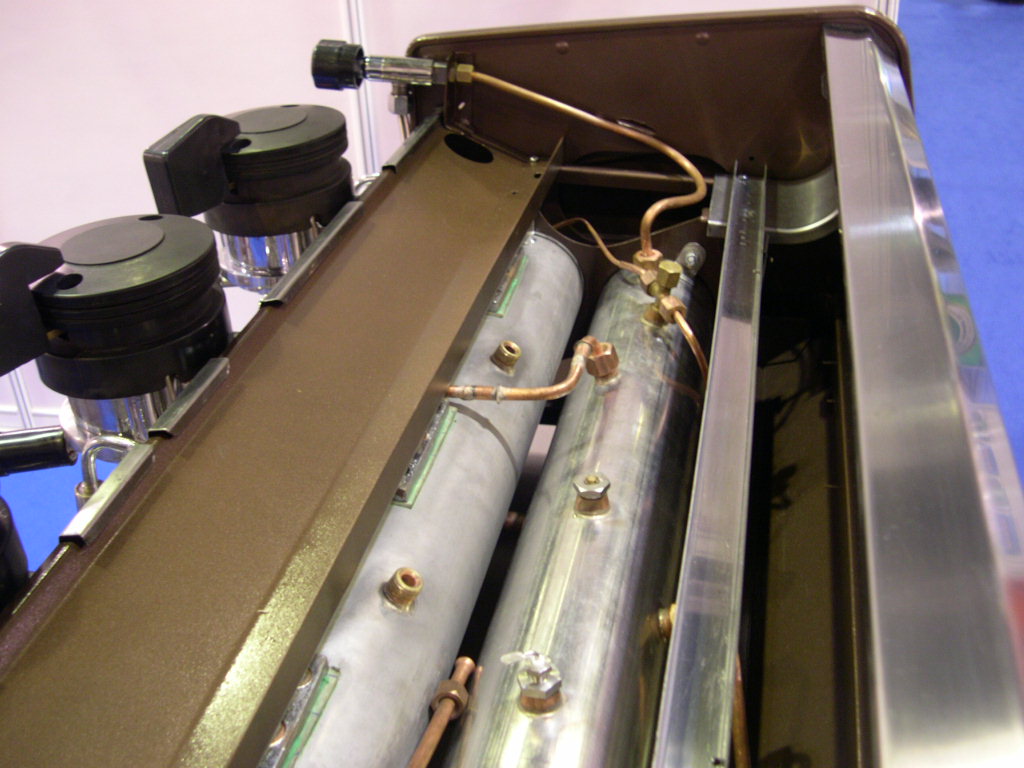
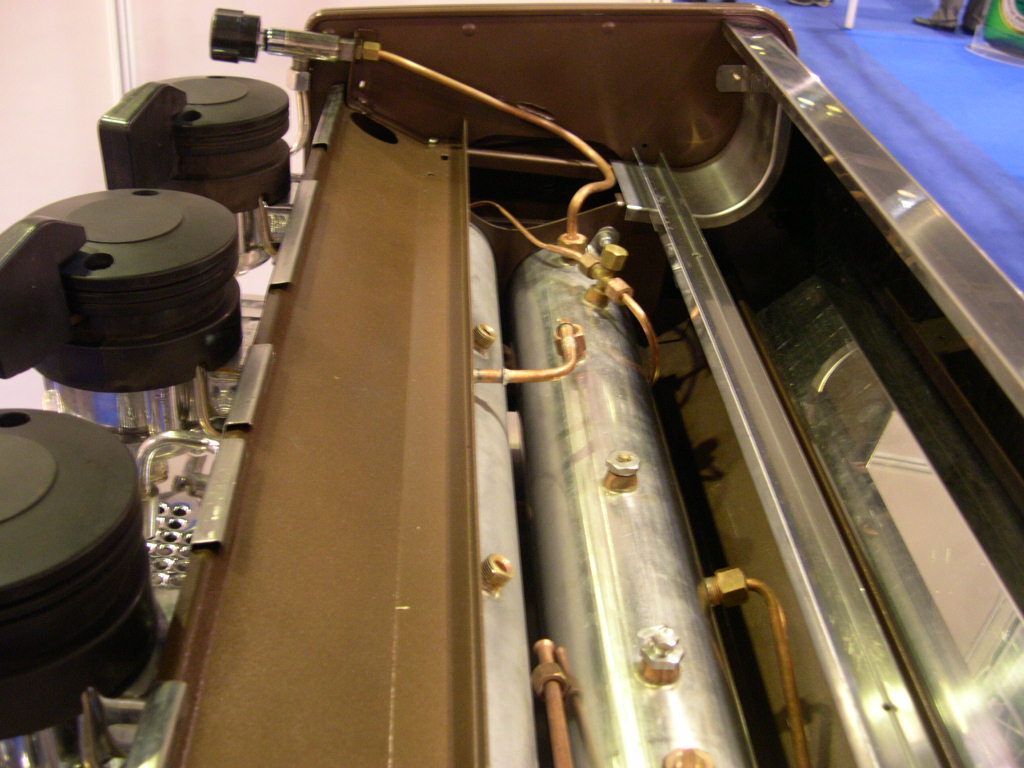


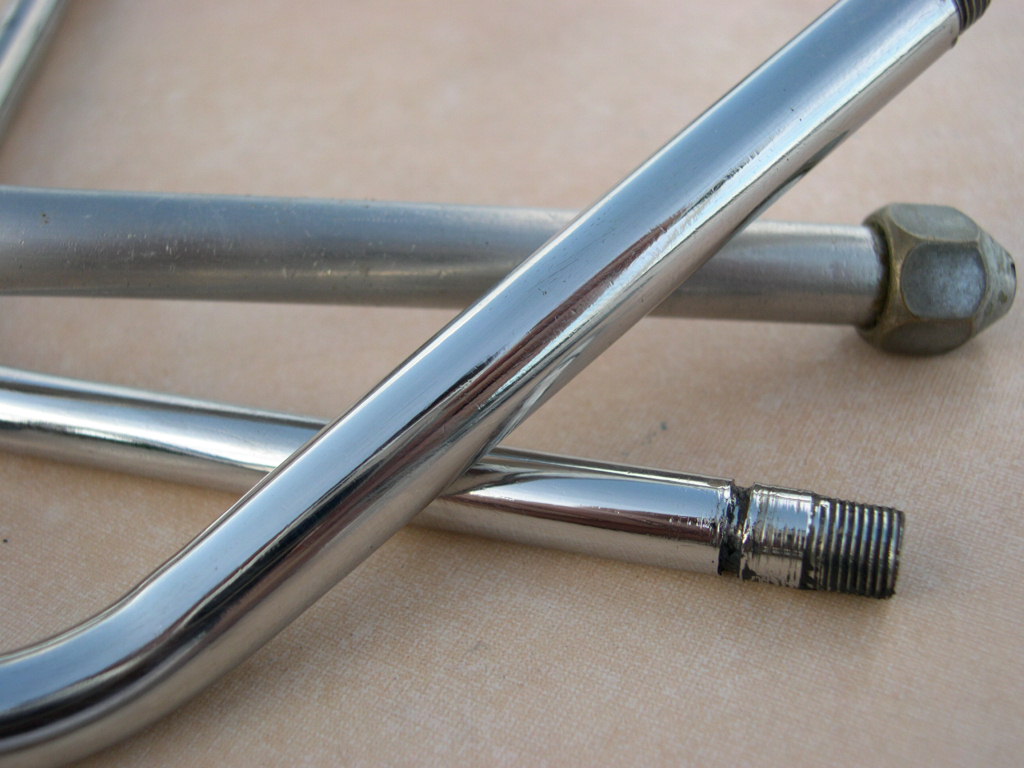
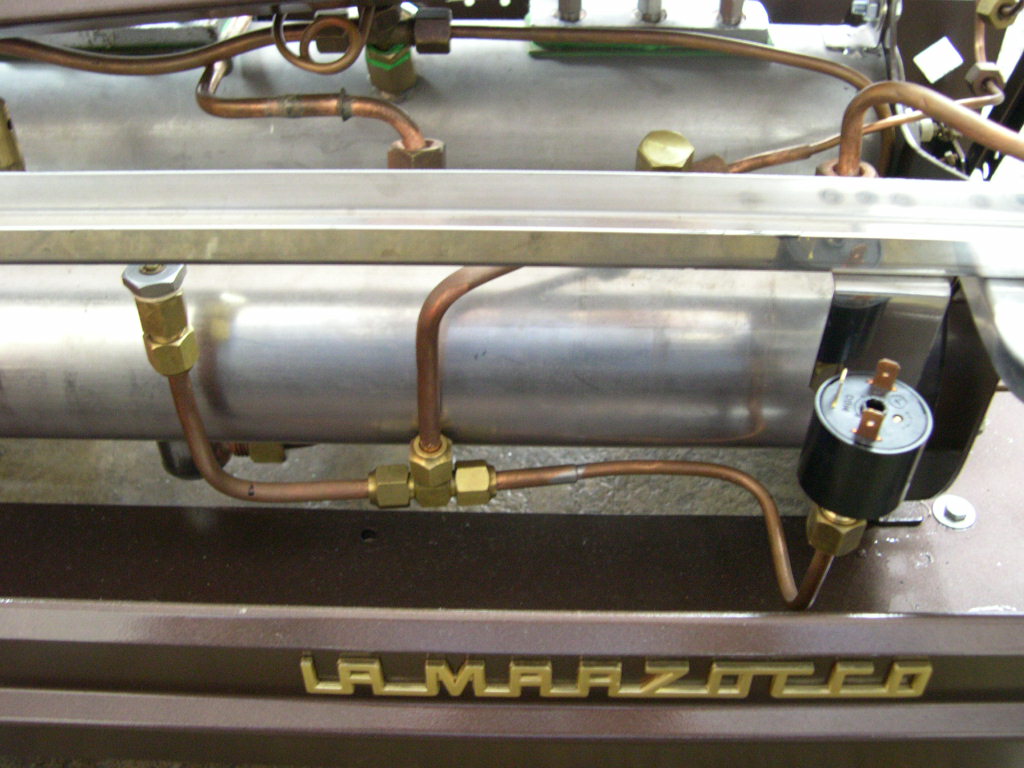
Still not had a chance to get the wiring done as other projects that pay the rent have taken over. However I did
manage to do some pipe-work to add a vacuum breaker and make some space for a more modern p-stat. It was a
bit tricky since the machine is actually not very tall and finding room for components is difficult - note the way I had
to use one of the old type vacuum breakers that are very small.

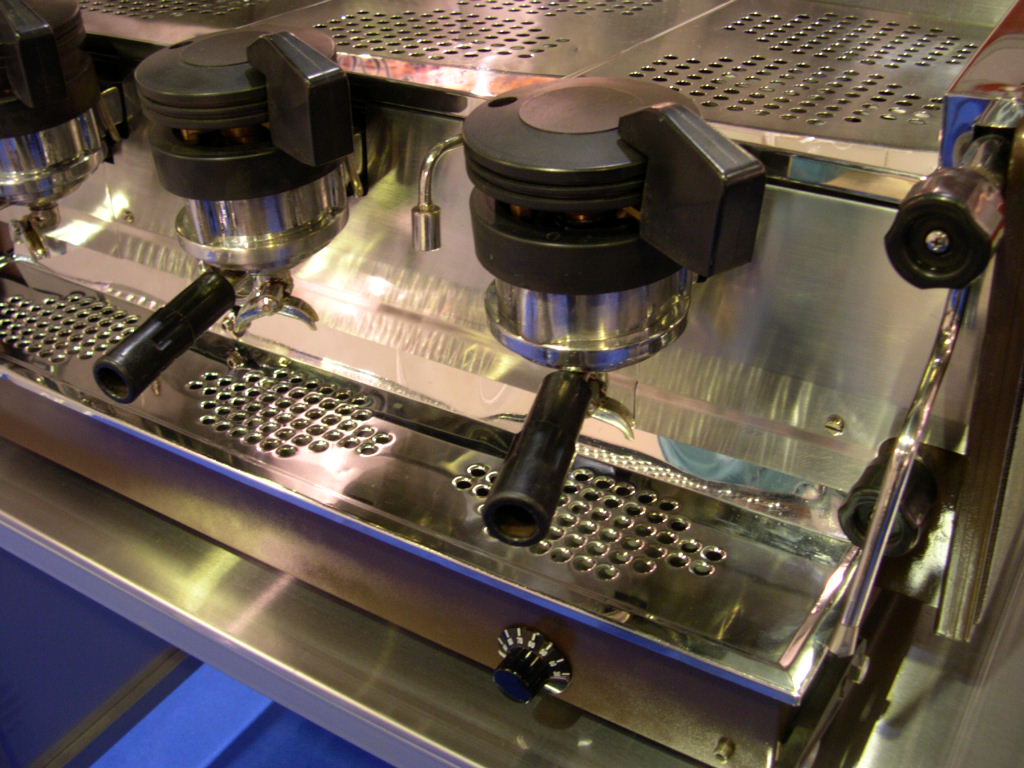
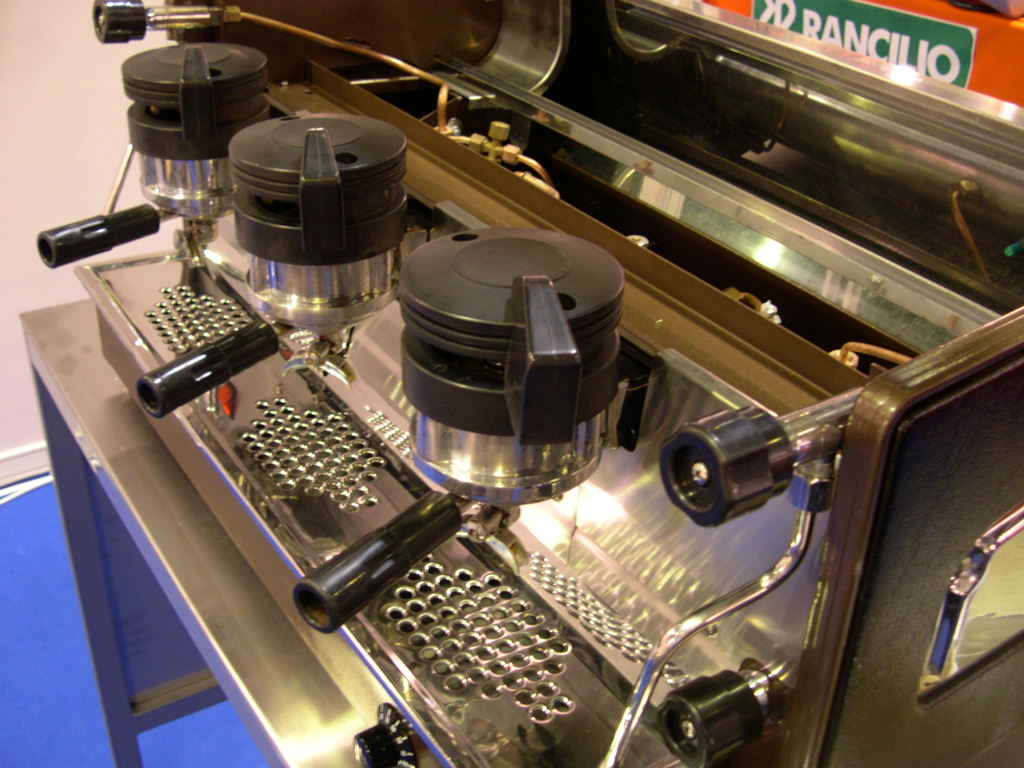
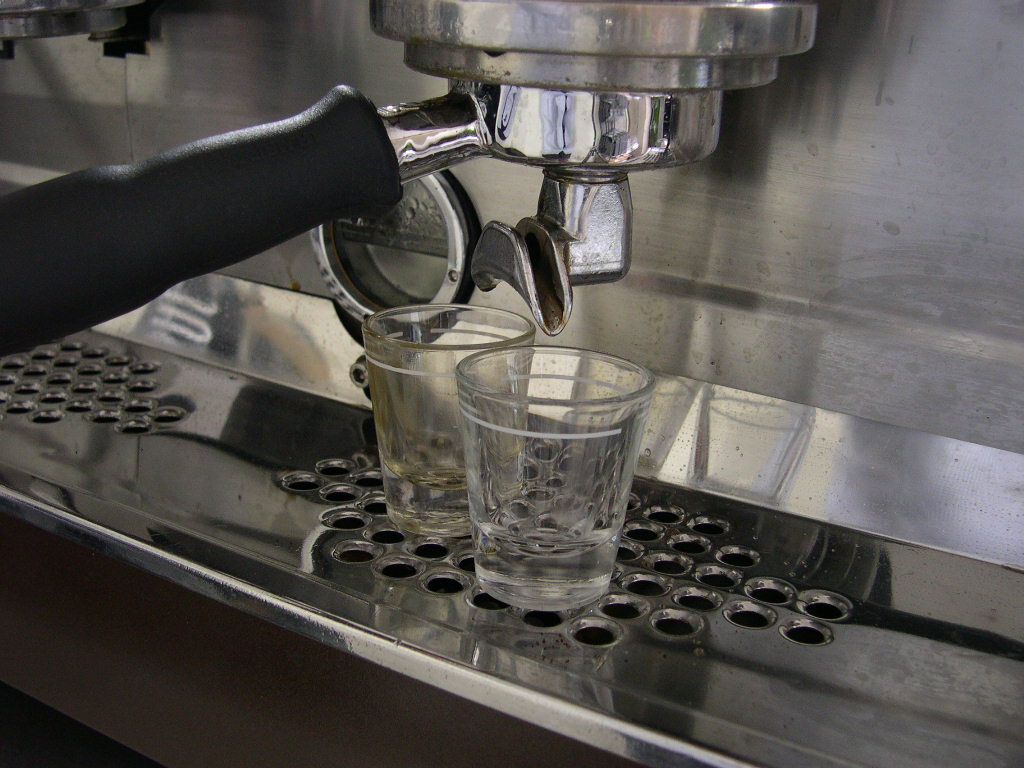
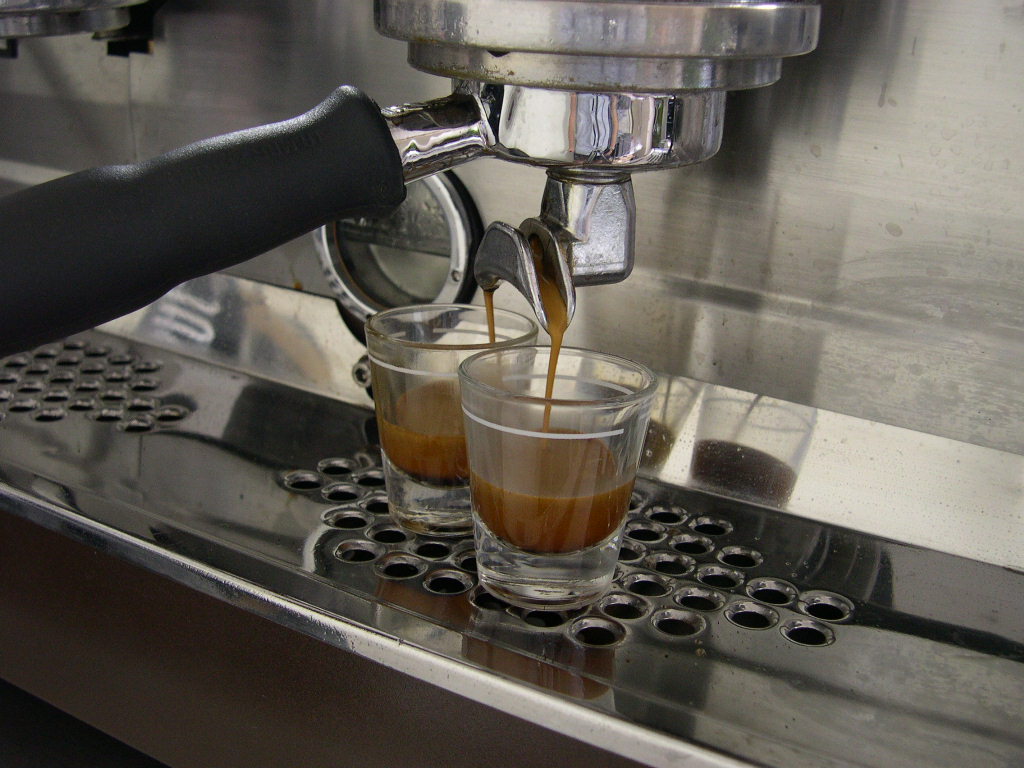
A full rewiring job has been completed and I used the new style Linea system as the template. The middle group still
needs some minor adjustments as it tends to drip in 1 position. I know what it is so I'll rebuild that group sometime
soon.
The re-wiring took around 1 day to do. Then I wasn't happy as it looked a bit ugly and so I re-did it using same-spec
wiring as from Marzocco. I have also added a main 0-1-2 switch and some safety thermostats on both boilers. The
machine is also using a CEME p-stat and I located the SSR under the boilers with a good heat sink.
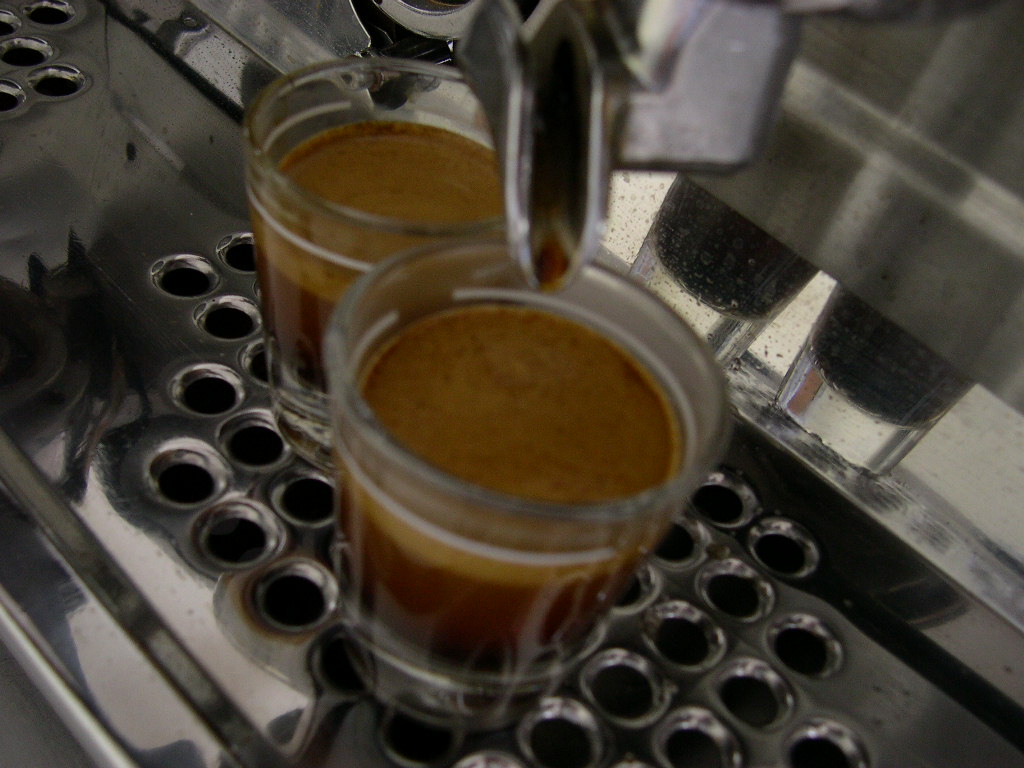
The machine is 1600W + 2500W and is drawing around 7.9 amps on initial heat-up. Because the steam boiler is
very small, it heats up in no time. The machine has been on for 1 week now.
will say yes, but please ask first!
Email me here.