The Espresso Machine Restoration site
A non-commercial site for those interested in espresso equipment repair and restoration.

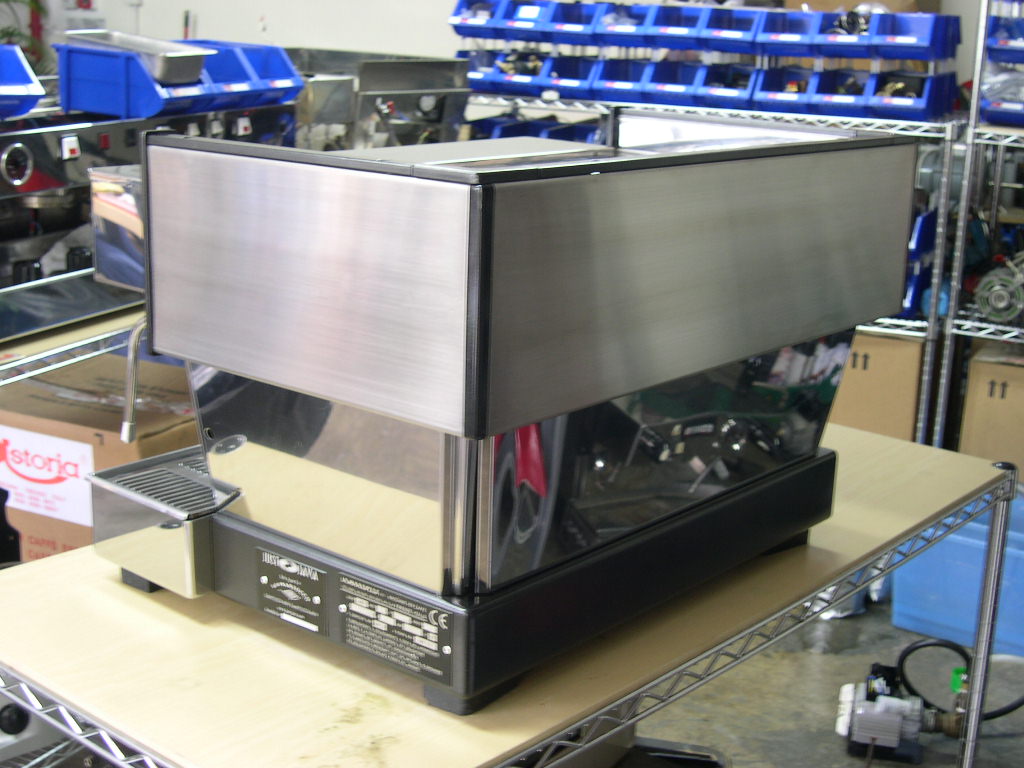
The finished overhaul

looks a bit like it belongs in a scrap yard but that is not too
difficult. Descaling and repolishing took about 1 week.
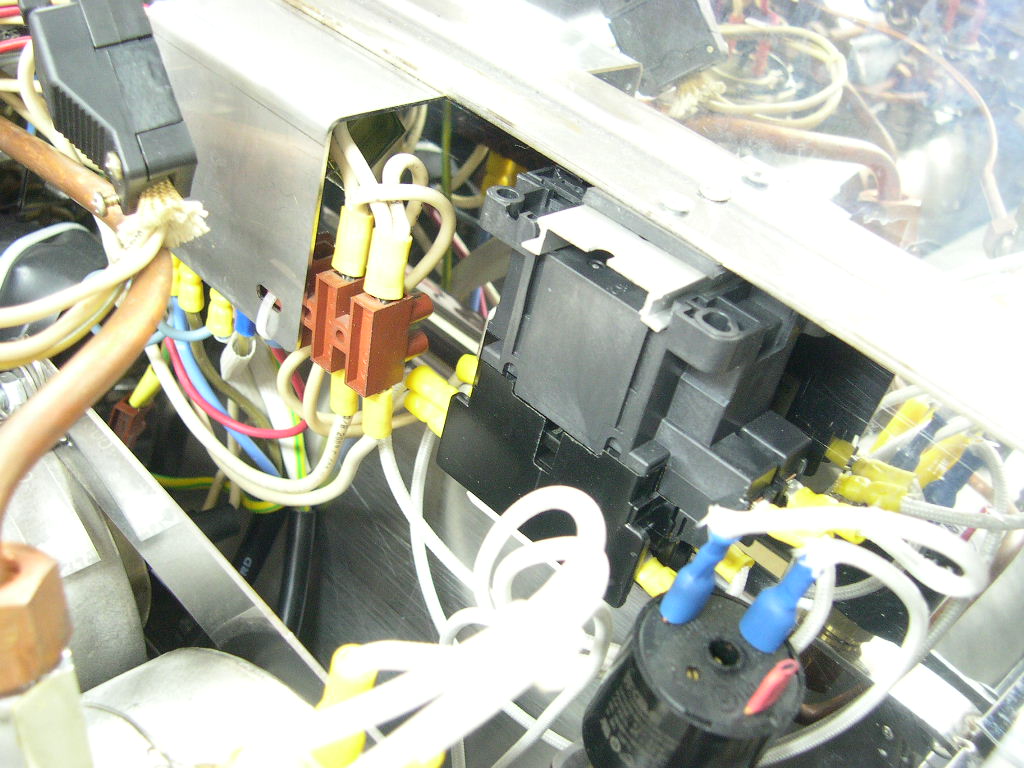
The electrical fault took a long time to fathom out though.


This part I actually enjoy the most. Re-brushing the steel is
easy and probably took me around an hour. The painting took
another hour, and requires some deft applying of masking tape.
It came out very well and I'm pleased with the result.


panels has obviously never had to do what I had to do and try
and remove it after 4 years of service.
It was a major PITA as the adhesive and plastic had formed one
big sticky mess.

cosmetically the same as when it left the factory. And I think the
smallest details make a big difference which is why the dirty
rocker switches get replaced.


The wand gets polished and the steel is soft so it takes just a
few minutes to get all the scratches out and re-polish.
How I clean and restore the wand tip is my trade secret ;)


overpressure valve. After a while the valve gets clogged up
with both dirt and limescale.
One of the reasons for overhauling is to renew safety features
like this.


shattering after it has been in a hot machine. On this
occassion I did not have any new covers so I made some up
with some boxes from a computer store. Not original but I think
they look good and are heat resistant so they won't shatter if
you try and take them out.


pressure switch. It's amazing how different switches react in
different machines. Most home users report the CEME lasting
months, so far these, inside the Lineas, have been going
strong for up to 2 years.

most difficult piece of steel to re-polish. It gets banged by the
portafilters and ends up looking really bad after a while.
It takes a few hours to polish this particular panel as the
scratches are usually very deep.


We just boxed the machine up and it is heading out tomorrow. It was a killer but looking back at all the pictures I am
very satisfied with the result.
Paul 05/05/05
I will say yes, but please ask first!
Email me here.